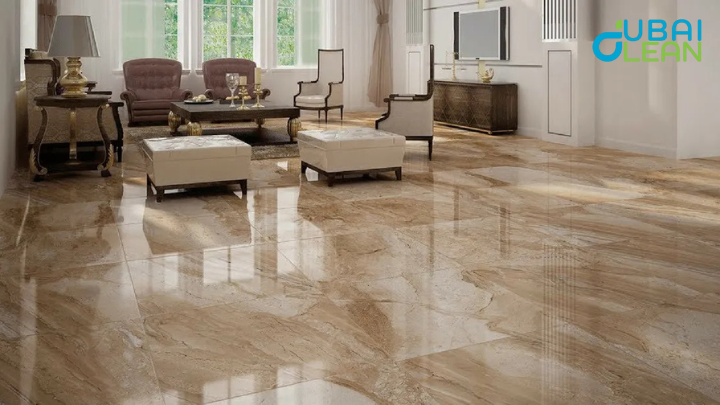
Marble floors are a timeless symbol of elegance, adding luxury to any home or commercial space. Their natural shine and smooth texture can enhance the beauty of every room. Over time, daily use can cause scratches, dullness, and stains, diminishing their charm. Regular polishing restores the marble’s brilliance while protecting it from future damage. Investing in professional care ensures your floors remain stunning and long-lasting.
1. The Foundation of Marble Restoration
The first stage is grinding, a vital process that sets the stage for a flawless, even surface. Also known as lippage removal, grinding uses specialised diamond tools to smooth out any uneven areas, rough spots, or ledges on the marble. This step is especially important for floors with uneven tiles, deep scratches, or stains, as it prepares the surface for the next polishing stages.
During grinding, powerful equipment is used to remove imperfections and level the marble surface. This helps to create a uniform, even appearance, providing a solid base for the more delicate honing and polishing stages. Any major flaws, like deep gouges or significant height differences between tiles, are addressed, leaving the floor smooth and level.
Grinding also plays a key role in eliminating stubborn stains or discolouration. The abrasives used in this phase help to lift away grime and restore the marble’s original, clean texture. While grinding doesn’t add shine, it’s essential for preparing the surface for the refinement that comes next.
2. Refining the Surface for a Smoother Finish
Honing is the second stage process and plays a crucial role in preparing the stone for a flawless finish. Unlike grinding, which focuses on removing deep scratches and imperfections, honing smooths the surface, evening it out and removing lighter marks. This stage uses finer abrasives, often industrial diamonds, to create a uniform texture and reduce any rough patches across the marble floor.
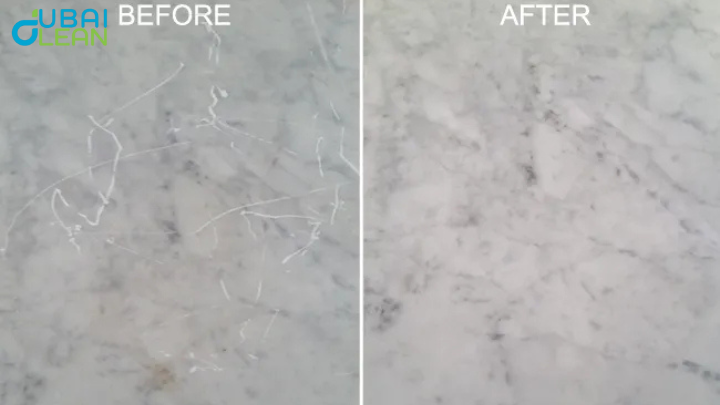
Out Scratches and Etching
During honing, any minor scratches that remain after grinding are removed, leaving the surface smooth and level. It also helps to reduce the visibility of any etching caused by acidic substances that may have damaged the marble. While honing doesn’t add shine, it leaves the floor with a satin-like finish, providing the perfect foundation for the next steps in the polishing process.
Professional Shine
When done properly, honing ensures the marble looks consistent and uniform, setting the stage for a more professional polish in the following stages. For floors showing moderate wear, honing is essential to restore a clean, smooth surface and prepare it for the high-gloss shine that polishing and buffing will achieve.
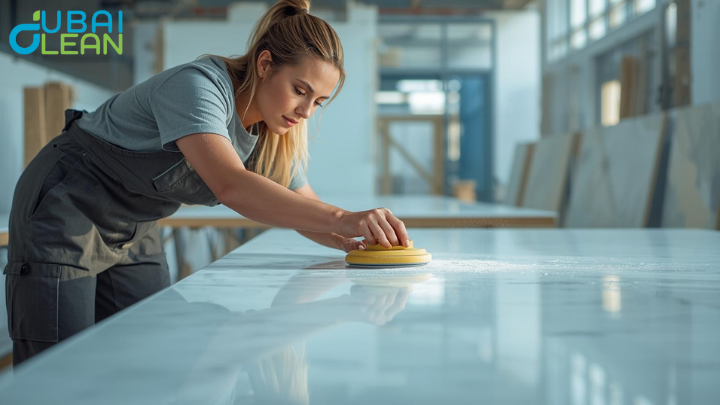
3. Polishing – Bringing Back the Shine
Polishing is the stage where your marble floor truly comes to life, transforming a dull or worn surface into a glossy, reflective finish. After grinding and honing have smoothed out the marble, polishing uses finer abrasives, like industrial diamonds, to highlight the stone’s natural beauty and restore its stunning shine. This step removes any fine scratches left after honing, leaving the surface smooth and visually striking.
| Step | Purpose | Result |
|---|---|---|
| Applying Polish | Enhances marble’s natural luster | Restores glossy, reflective surface |
| Buffing | Smooths and evens out the polish | Creates uniform shine across the floor |
| Protective Finish | Seals the surface against stains and scratches | Extends the marble’s durability and beauty |
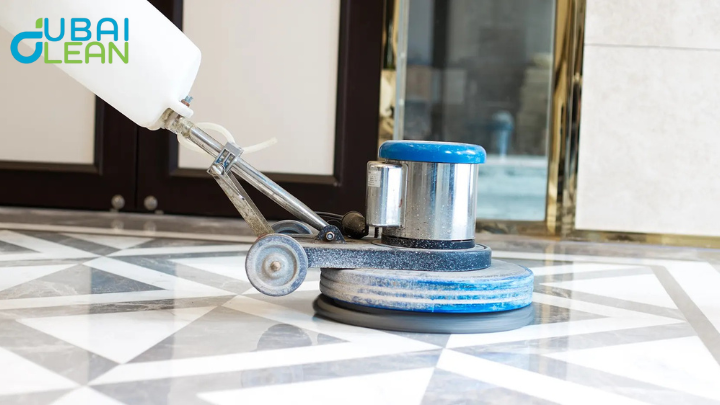
4. Crystallization and Buffing
Crystallization and buffing are the final steps in marble care, giving floors their signature, mirror-like shine. Crystallization applies a chemical treatment that reacts with the marble’s minerals, creating a protective, high-gloss layer. Buffing then smooths and polishes the surface, enhancing the shine and removing any residue. Together, these processes strengthen the marble, making it more resistant to scratches, stains, and daily wear while simplifying maintenance.
- Creates a mirror-like, high-gloss finish
- Enhances the natural depth and colour of marble
- Forms a protective layer against stains and scratches
- Hardens the surface for long-term durability
- Smooths out residue from previous treatments
- Improves uniformity and consistency of shine
- Makes cleaning and maintenance easier
- Prolongs the life of the marble floor
- Adds professional, showroom-quality appearance
5. Tips for Maintaining Polished Marble Floors
To keep marble floors glossy and long-lasting, regular care is essential. Daily dusting with a soft microfiber mop and routine cleaning with a pH-neutral, marble-safe cleaner prevents scratches and damage. Avoid acidic or abrasive products, and clean spills immediately to protect the porous surface from stains. Using protective mats, rugs, coasters, and trivets in high-traffic or kitchen areas helps reduce wear and potential damage. Additionally, scheduling professional polishing once or twice a year restores shine, removes minor scratches, and ensures your marble stays beautiful for year.
Conclusion
Maintaining the beauty and durability of marble floors requires a combination of proper care, regular cleaning, and professional maintenance. From honing and polishing to crystallization and buffing, each step plays a vital role in restoring and preserving the stone’s natural shine. By following preventive tips and scheduling periodic professional treatments, you can keep your marble looking luxurious, glossy, and resilient for years. Investing in proper care not only enhances the elegance of your space but also extends the life of one of the most timeless and sophisticated flooring materials.