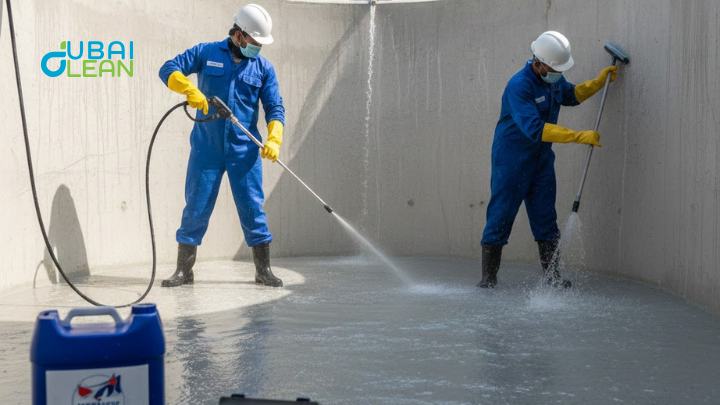
In Dubai’s warm, humid climate, wallpaper can bring style to any room – but peeling or bubbling can quickly spoil its look. This often happens due to humidity, temperature changes, or poor installation.
The good news is you don’t need to replace it. With the right adhesive, tools, and method, you can easily restore loose wallpaper. In this guide, we’ll cover why it peels, the best adhesives, step-by-step repair instructions, and tips to keep it looking fresh – just like the professionals do.
Why Wallpaper Peels or Lifts
Before jumping into the solutions, it’s important to understand why wallpaper comes loose.
Common Causes
- Humidity and Moisture : Bathrooms, kitchens, and coastal areas in Dubai have high moisture levels that can loosen wallpaper adhesive.
- Temperature Fluctuations : Air conditioning and outdoor heat cause expansion and contraction, weakening the glue.
- Poor Surface Preparation : Dust, grease, or unprimed walls can prevent adhesive from bonding.
- Low-Quality Adhesive : Some wallpapers are installed with cheap glue that breaks down over time.
- Aging Wallpaper : Over the years, adhesives naturally dry out and lose strength.
What You Can Use to Stick Wallpaper Back Down
Here’s a breakdown of the most effective solutions for reattaching wallpaper.
1. Wallpaper Paste (Traditional Method)
- Best for: Large sections or older wallpaper.
- Advantages: Designed specifically for wallpaper, strong hold, easy to work with.
- How to use: Apply with a brush or roller directly to the wall or back of wallpaper.
2. Wallpaper Seam Adhesive
- Best for: Small peeling edges or seams.
- Advantages: Comes in a tube with a nozzle for precise application, dries clear.
- How to use: Squeeze adhesive into the gap and press wallpaper down.
3. PVA Glue (White Glue)
- Best for: Quick fixes in low-moisture areas.
- Advantages: Affordable, easy to find.
- How to use: Mix with a little water, apply with a brush, and press wallpaper into place.
4. Double-Sided Wallpaper Tape
- Best for: Small tears or spots.
- Advantages: No drying time, mess-free.
- How to use: Place tape behind wallpaper, press firmly.
5. Spray Adhesive
- Best for: Large, flat areas needing reattachment.
- Advantages: Covers evenly, fast application.
- How to use: Spray on the back of wallpaper and wall, wait 30 seconds, then press down.
6. Starch Paste (Eco-Friendly Option)
- Best for: Lightweight wallpaper in children’s rooms or rentals.
- Advantages: Non-toxic, easy to remove later.
- How to use: Apply with a brush, then smooth wallpaper in place.
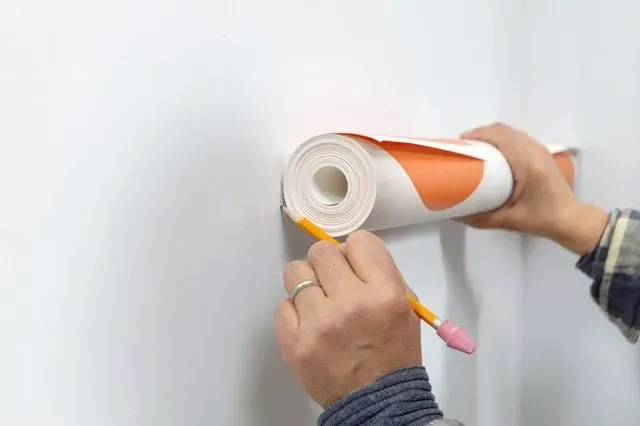
Step-by-Step Guide to Re-Sticking Wallpaper
Here’s the full process to make your repair last.
Step 1. Gather Tools and Materials
- Adhesive of choice (paste, seam glue, spray adhesive, etc.)
- Small paintbrush or roller
- Utility knife
- Wallpaper smoother or credit card
- Damp sponge and clean cloth
- Small bowl of water
- Ladder (for high areas)
Step 2. Prepare the Area
- Gently lift the peeling section without tearing it.
- Wipe the wall and back of the wallpaper with a damp cloth to remove dust.
- Allow to dry completely before applying adhesive.
Step 3. Apply Adhesive
- For paste or glue: Use a brush to apply evenly on the wall or wallpaper backing.
- For seam adhesive: Squeeze directly into the gap.
- For spray adhesive: Apply a thin coat to both surfaces.
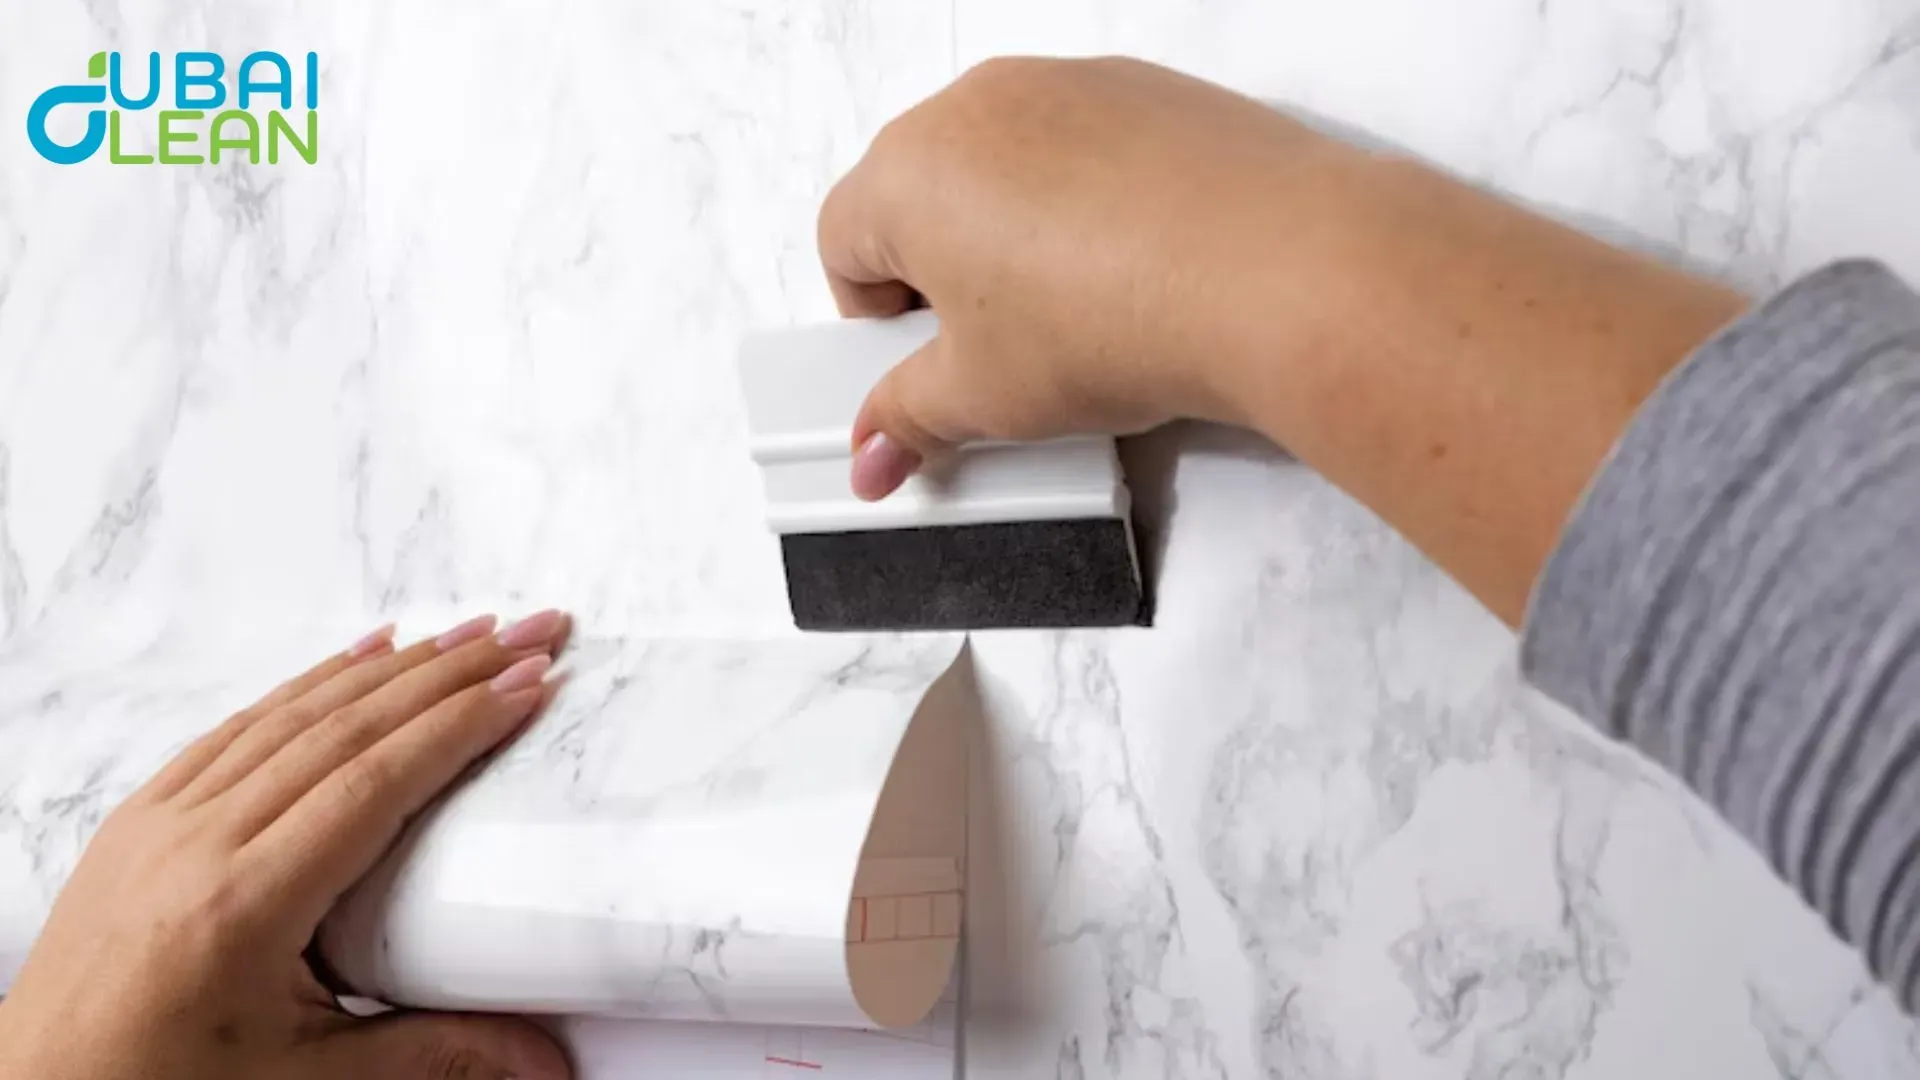
Step 4. Smooth It Down
- Press wallpaper firmly back into place.
- Use a smoother or credit card to remove air bubbles.
- Wipe away excess glue with a damp sponge.
Step 5. Trim and Seal
- If the edges are frayed, trim them with a utility knife for a neat finish.
- Apply a thin coat of seam adhesive along the edges to seal.
Step 6. Let It Dry
- Avoid touching or pulling on the wallpaper for at least 24 hours.
- Keep the room cool and well-ventilated.
Extra Tips for Dubai Homes
- Use a moisture-resistant wallpaper paste in bathrooms and kitchens.
- Keep humidity under control with exhaust fans or dehumidifiers.
- Avoid using harsh cleaners near wallpaper seams.
- For high-traffic areas, consider applying a clear wallpaper sealant after repair.
When to Call a Professional
You should contact a professional if:
- Large sections are peeling off
- The wallpaper is expensive or delicate (e.g., silk, fabric)
- The wall beneath has mold or water damage
- Previous DIY repairs haven’t held up
Professionals use specialized adhesives and smoothing tools that ensure a perfect, long-lasting finish.
Common Mistakes to Avoid
- Using too much glue – Can cause lumps or seep through wallpaper.
- Not cleaning the wall first – Dust and dirt prevent proper adhesion.
- Skipping drying time – Leads to peeling within days.
- Using the wrong adhesive type – Some glues can stain wallpaper.
How to Prevent Future Peeling
- Seal wallpaper edges after installation.
- Control room temperature and humidity to prevent expansion and contraction.
- Use high-quality adhesive during the initial installation.
- Address water leaks immediately to protect walls.
FAQs
Conclusion
Peeling wallpaper can make even the most stylish Dubai home look untidy – but it’s a problem that’s easy to fix with the right adhesive and technique. Whether you choose wallpaper paste, seam adhesive, or double-sided tape, the key is preparing the surface, applying adhesive evenly, and smoothing the wallpaper carefully.
For valuable or tricky wallpaper, a professional repair service ensures flawless results and long-term durability. But even if you DIY, acting quickly prevents further peeling and keeps your home looking beautiful.