In Dubai’s hot climate, underground water tanks are essential for storing a safe and reliable water supply. However, over time, these tanks can accumulate sediment, algae, rust, and harmful bacteria, making the stored water unsafe for daily use. Whether the water is for drinking, cooking, or cleaning, maintaining its hygiene is crucial for health and safety.
The solution lies in following a proper underground water tank cleaning procedure that removes contaminants and ensures the water remains clean and fresh. In this guide, we will break down the complete cleaning process, explain why it’s essential, and share tips to maintain your tank for longer. This is the same process used by professional cleaning experts in Dubai, adapted for homeowners and property managers who want to understand the steps clearly.
Why Underground Water Tank Cleaning is Important in Dubai
Before we jump into the procedure, it’s important to understand why regular cleaning is necessary.
- Hot Climate Accelerates Contamination – Dubai’s high temperatures create a perfect breeding ground for algae and bacteria in stagnant water.
- Sediment Build-up – Sand, rust, and debris settle at the bottom, affecting water taste and quality.
- Health Risks – Unclean water tanks can lead to skin problems, stomach infections, and other health issues.
- Plumbing Damage – Dirty water can clog pipes, reduce water pressure, and damage appliances.
- Regulatory Compliance – Many residential communities and commercial properties in Dubai follow strict water hygiene standards.
When Should You Clean Your Underground Water Tank?
A general rule in Dubai is to clean your water tank every six months. However, cleaning may be needed sooner if you notice:
- Discoloured water
- Strange odours
- Algae growth
- Sediment visible at taps or shower heads
- Reduced water flow
Step-by-Step Underground Water Tank Cleaning Procedure
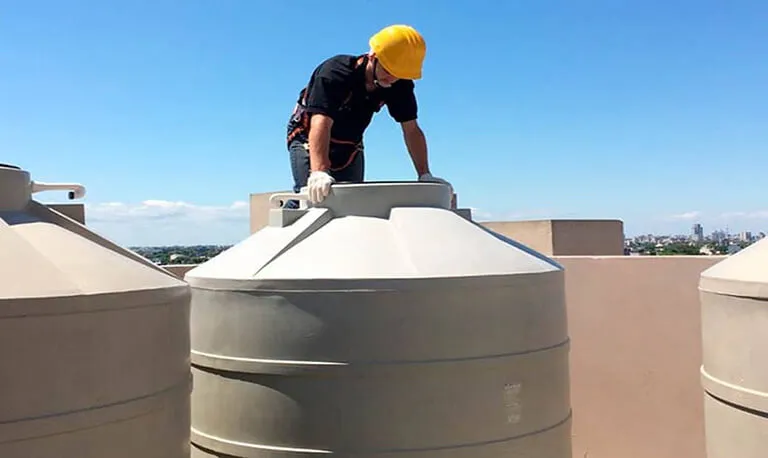
Step 1. Preparation and Safety
Before starting, ensure safety measures are in place:
- Wear gloves, masks, and waterproof boots.
- Keep electrical equipment away from water.
- If the tank is deep, ensure proper ventilation to avoid suffocation risks.
Tools and Materials Needed:
- Submersible pump or bucket
- Scrubbing brushes and sponges
- Non-toxic cleaning agents (food-grade chlorine or vinegar solutions)
- High-pressure water hose
- Protective gear
Step 2. Shut Off the Water Supply
Turn off the main water inlet valve to prevent water from entering the tank during cleaning. If your tank has a pump, switch it off to avoid damage.
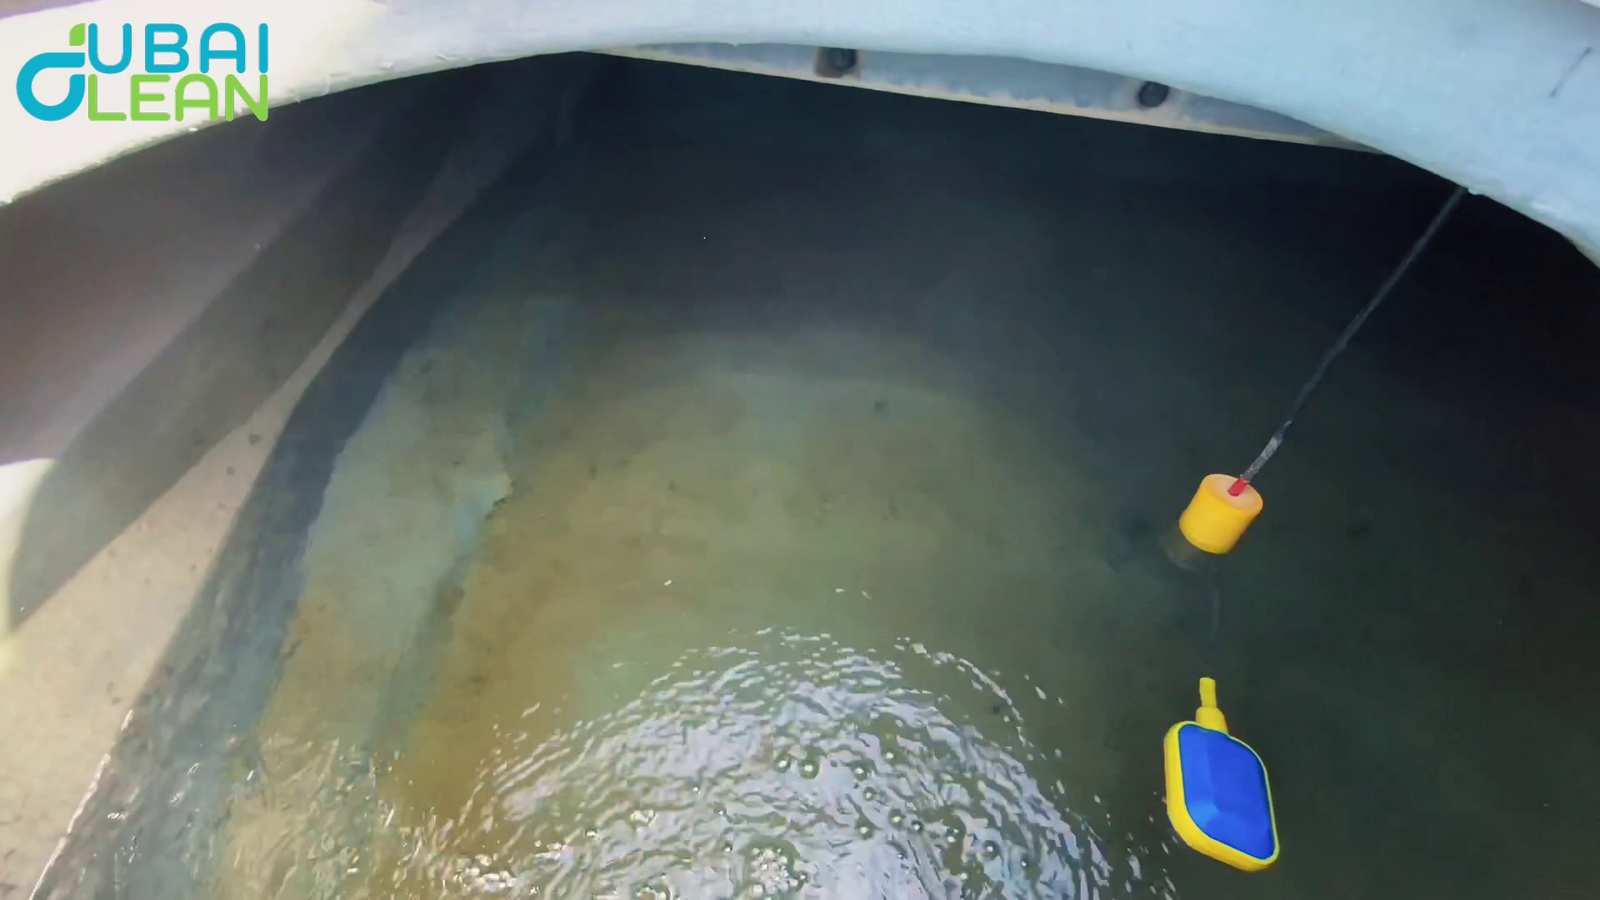
Step 3. Drain the Tank
Use a submersible pump to remove most of the water. For smaller tanks, buckets can be used, but pumping is faster and more efficient. Leave about 10–15 cm of water at the bottom to aid in scrubbing.
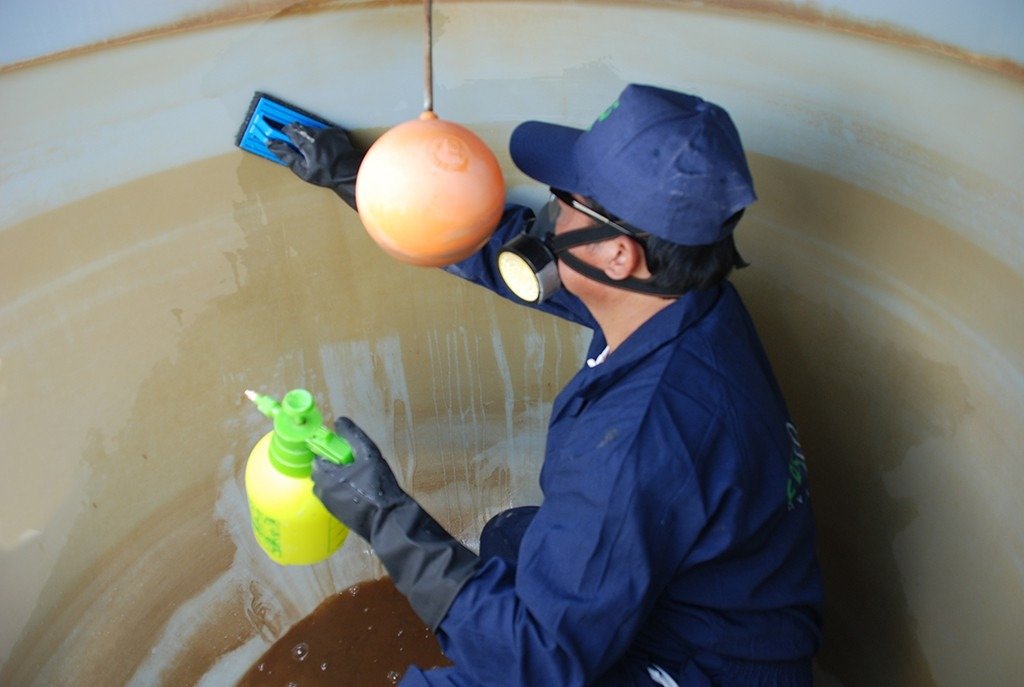
Step 4. Scrubbing the Interior Walls
Sediment and algae often stick to the tank’s inner walls. Use stiff-bristled brushes to scrub them thoroughly. For stubborn dirt, apply a mild cleaning agent. Avoid harsh chemicals that could leave harmful residues.
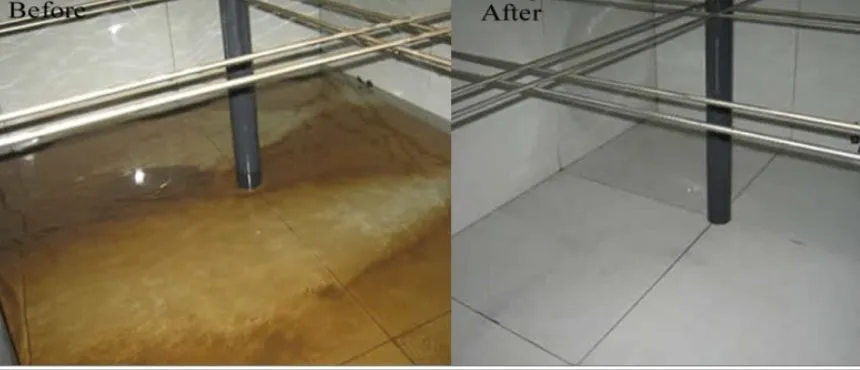
Step 5. Clean the Floor and Corners
The floor of an underground water tank tends to collect the most debris. Use scrubbing tools to loosen dirt and sludge. Pay special attention to corners where sediment accumulates.
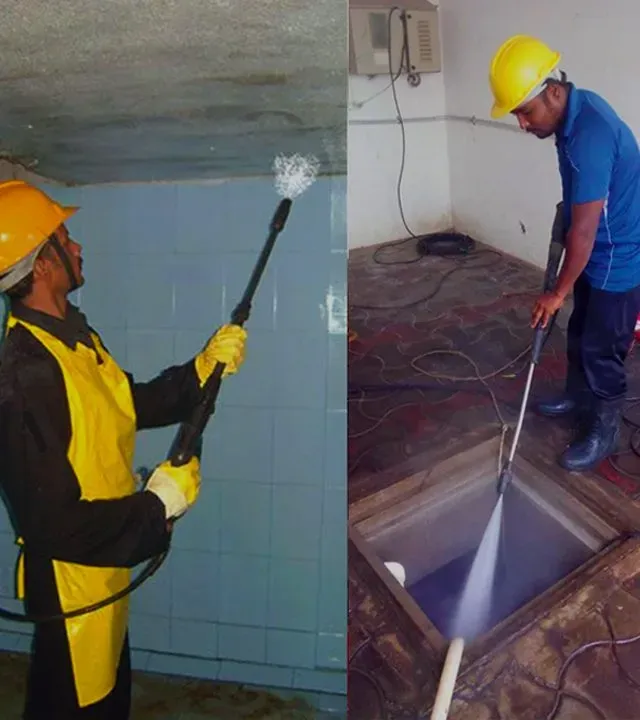
Step 6. Rinse with a High-Pressure Hose
After scrubbing, use a high-pressure hose to rinse away loosened dirt. This step is crucial to remove all traces of cleaning agents and debris.
Step 7. Disinfect the Tank
Disinfection is one of the most important stages. For Dubai homes, a food-grade chlorine solution is commonly used:
- Mix according to manufacturer instructions.
- Apply the solution to walls, floor, and corners.
- Let it sit for at least 30 minutes to kill harmful microorganisms.
For a chemical-free option, white vinegar can also be used, though it may be less effective for heavy contamination.
Step 8. Final Rinse
Once disinfected, drain the chlorine or vinegar solution and rinse thoroughly with clean water until no chemical smell remains.
Step 9. Refill and Test
Turn the main water supply back on and let the tank fill. Run taps in your home for a few minutes to flush out any remaining residues. Check the water’s clarity and smell before using it.
Extra Tips for Maintaining a Clean Water Tank
- Install a water filter at the inlet to block sand and debris.
- Keep the tank lid tightly sealed to prevent insects and dust from entering.
- Conduct regular inspections to spot problems early.
- Use only trusted suppliers for water top-ups.
- Schedule periodic cleaning from professional tank cleaning services for thorough maintenance.
Common Mistakes to Avoid
- Using toxic industrial cleaners – These can make water unsafe.
- Skipping the disinfection stage – This leaves harmful bacteria behind.
- Not rinsing properly – Residual chemicals can cause health issues.
- Overlooking small cracks or leaks – They can lead to contamination.
The Dubai-Specific Challenge
Unlike in cooler climates, Dubai’s heat speeds up bacterial growth in water tanks. This means cleaning frequency must be higher than the international average. Also, the city’s sandy environment increases sediment build-up, making a proper procedure even more important.
FAQs
Conclusion
Clean water is not a luxury, it’s a necessity, especially in Dubai’s harsh climate. Following the underground water tank cleaning procedure outlined above helps ensure your family or business always has a safe, hygienic water supply. While DIY methods work for small tanks, hiring professional cleaners ensures deeper cleaning and faster results.
A regular cleaning schedule not only improves water quality but also extends the life of your plumbing and appliances. Remember, your water is only as clean as the tank it’s stored in.