In the hotter areas the two go hand in hand. Each and every modern day appliance that uses electricity comes along with an air conditioning unit. One of the issues an AC can have is not being able to cool the air in a room. This can occur because of the failure of a component called a compressor which is responsible for the circulation of refrigerant in the cooling system. Luckily, you may not have to spend a fortune on professionals as you can resolve the problem by following a simple do-it-yourself method. In this article steps for accomplishing an AC compressor repair will be provided.
Understanding the AC Compressor
AC compressors are critical to the refrigeration process.They utilize mechanical components to compress and circulate refrigerant gas throughout the cooling system, enabling it to function efficiently. If the compressor malfunctions, it can cause the entire system to fail, leading to unbearable temperatures.
Signs of a Faulty AC Compressor
No Cool Air
If your air conditioning unit is functioning but not cooling the space, the problem may be the compressor.
Loud Noises
Any of the following sounds coming from the AC unit – grinding, clanking, or rattling – may suggest that there is a problem with the motor of the compressor or some of its internal components.
Tripped Circuit Breaker
A continuously tripping circuit breaker or fuse could signal an electrical problem in the compressor.
Warm Air
If the air coming from your AC is warm or the system is blowing air at room temperature, it suggests the compressor isn’t functioning properly.
Safety First: Precautions Before Starting
Turn Off Power
Always disconnect the power supply to the AC unit before starting any work. This will prevent any risk of electrical shock.
Use Protective Gear
Wear safety gloves, goggles, and a long-sleeved shirt to protect yourself from debris or refrigerant exposure.
Handle Refrigerant with Care
If you need to recharge the refrigerant, ensure you are using the right tools and follow the manufacturer’s instructions. If unsure, it’s best to call a professional.
Tools You Will Need
- Multimeter: To test the electrical components and diagnose continuity issues.
- Screwdrivers & Wrenches: For removing covers, bolts, and screws from the compressor.
- Refrigerant Gauge: To check refrigerant levels if your repair involves recharging the system.
- Manifold Gauge Set: For testing the refrigerant pressure.
- Vacuum Pump: To evacuate air from the system if you need to replace the compressor.
- Safety Gloves and Goggles: To ensure your safety while handling parts and refrigerant.
Step-by-Step Guide to Repairing the AC Compressor
Step 1: Diagnose the Problem
Before attempting any repairs, you need to accurately diagnose the issue. It could even be something simpler, like a blown fuse, defective thermostat, or low refrigerant levels. Here’s how to begin your diagnosis:
- Check the Power Supply: Check the circuit breaker and fuse box to confirm there are no issues with the electrical supply.
- Test the Compressor: Use a multimeter to check for continuity in the compressor’s electrical components. If the compressor is receiving power but not functioning, it may be faulty.
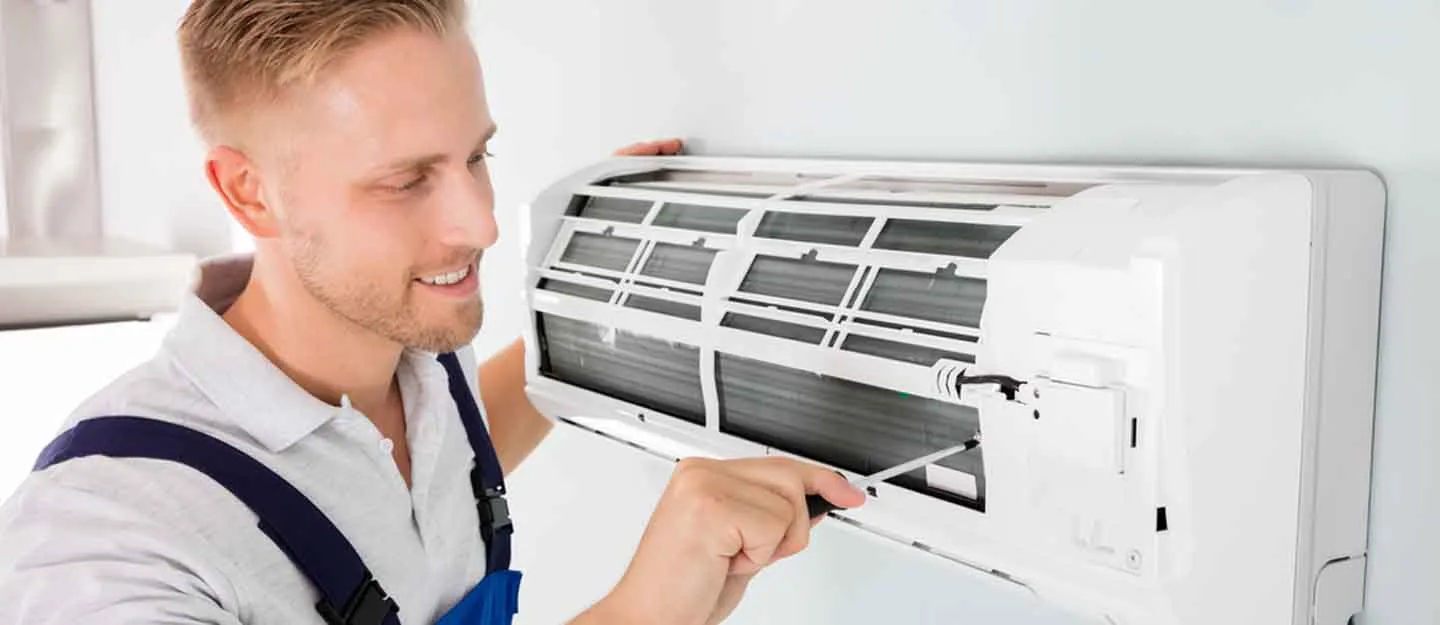
Step 2: Shut Off the Power and Open the Unit
Once you’ve determined that the compressor is the problem, turn off the air conditioner’s electricity to prevent electric shock. Unplug it from the main power source.
Next, take off the AC unit’s exterior shell or cover. You will likely need to use a screwdriver to remove any panels or fasteners, which will give you access to the compressor and other internal parts.
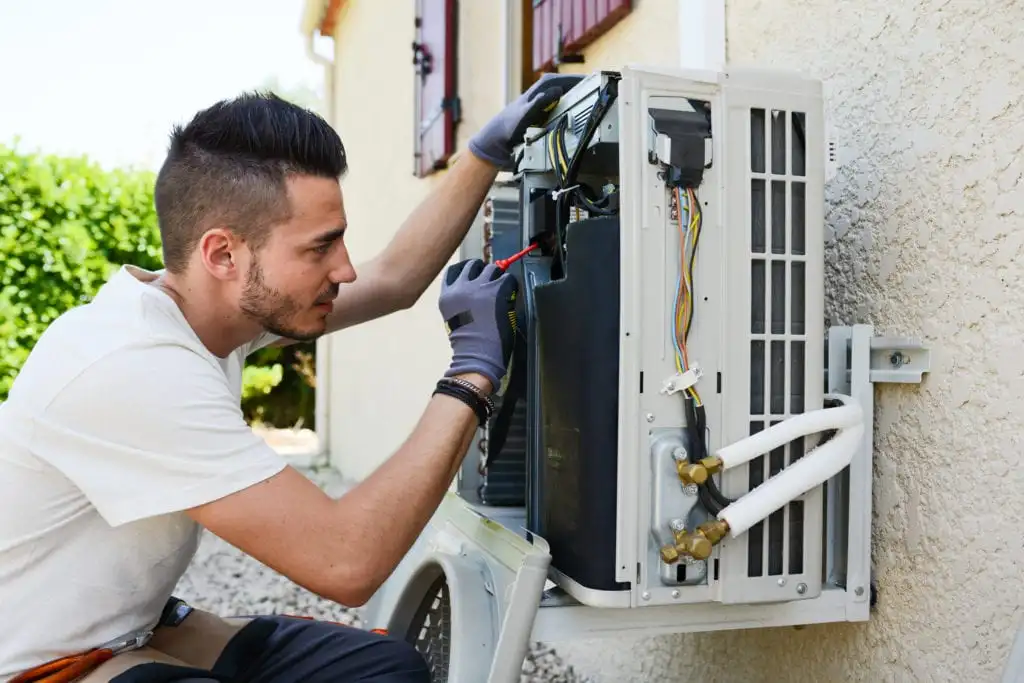
Step 3: Remove the Faulty Compressor
To access the faulty compressor, you need to carefully remove it from the unit. The compressor is often held in place by screws, bolts, or clamps.
- Disconnect the Refrigerant Lines: Carefully detach the refrigerant lines using a wrench. Be cautious not to let any refrigerant leak out.
- Disconnect Electrical Wires: Label the wires with tape to ensure you reconnect them correctly later. Then, disconnect the electrical wires from the compressor.
Once all the connections are detached, carefully remove the compressor from its housing.
Step 4: Inspect and Test the Compressor
Prior to moving forward with the replacement, make sure to check all apparent signs of the wear and damage to the compressor. If the motor of the compressor is burnt out or there is a considerable leakage, it will most probably require a replacement. Employ a multimeter to test continuity; should you detect no continuity whatsoever along with resistance, you could safely assume the compressor is faulty.
Step 5: Replacing or Repairing the Compressor
If the compressor is damaged beyond repair, you’ll need to replace it with a new one. Make sure you purchase the correct replacement model for your specific air conditioning unit.
- Installing the New Compressor: Place the new compressor into the unit, aligning it with the mounting points. Reattach the refrigerant lines and electrical connections according to the manufacturer’s instructions.
- Test for Leaks: Before sealing everything, check for refrigerant leaks. You can use a refrigerant leak detector to identify any issues.
If the compressor can be repaired (for example, if the motor is still working but needs cleaning or adjustment), carefully clean the interior parts and reinstall the compressor.
Step 6: Reassemble and Test the Unit
After the compressor has been fixed or replaced, reassemble the AC unit by tightening all the panels and screws. Reconnect the power supply and turn on the AC to test it.
Verify that cold air is being blown by the system and keep an eye out for any odd vibrations or noises. If the unit is operating smoothly and efficiently cooling the area, you’ve successfully fixed the compressor!
Step 7: Add Refrigerant (if needed)
You will need to add refrigerant if the compressor has been replaced, or if the refrigerant levels were low. Prior to refrigerant charging, evacuate air from the system using a refrigerant gauge and a vacuum pump.
Always abide by the manufacturer’s guidelines regarding the type and quantity of refrigerant used. Correct refrigerant levels are essential to the system’s efficiency, hence it must be maintained.
When to Call a Professional
While DIY maintenance may seem cost-friendly, problems like refrigerant leaks, compressor changes, or severed compressor motor connections are best left to pros. If you have any questions, or the issue still seems to persist after your attempts to fix it, feel free to reach out to a professional. An HVAC professional is more than equipped to tackle these problems because the resources at their disposal will guarantee proper, successful maintenance.
Conclusion
Even the most motivated individuals may seem daunted at first by diagnosing and troubleshooting issues within an A/C compressor. They just need the right tools and guidance. As with any task, the first step is to collect all tools required and plan the process in a sequential manner which helps maintain order.
If the fix seems too complicated or beyond your skill level, don’t hesitate to call in a professional. Regular maintenance and proper care can prolong the lifespan of your AC system and keep it running efficiently.
This version includes all the necessary headings and subheadings, making it clear and easy for readers to follow the steps for repairing an AC compressor.