In a city like Dubai, where bathrooms are often exposed to high humidity and frequent use, maintaining shower grout isn’t just about appearance, it’s about protecting your home from costly water damage and mold growth. Those tiny gaps between tiles, when left unsealed, allow water to seep in, weakening adhesives, damaging walls, and creating the perfect environment for bacteria.
If you’ve spotted missing or crumbling grout in your shower, you’re not alone. It’s a common problem in both residential and commercial bathrooms, especially in high-moisture areas. The good news? With the right knowledge and tools, fixing missing grout is straightforward.
Why Grout is So Important in Showers
Grout serves more than an aesthetic purpose, it’s a protective barrier between your tiles.
Key Functions of Grout
- Prevents Water Damage : Blocks moisture from seeping behind tiles.
- Holds Tiles in Place : Maintains structural stability.
- Stops Mold Growth : By sealing gaps, it limits places where mold can thrive.
- Enhances Appearance : Gives a clean, polished finish to tiled walls and floors.
Why Grout Fails Faster in Dubai Bathrooms
Dubai bathrooms face unique challenges:
- High Humidity – Speeds up mold growth.
- Hard Water – Leaves mineral deposits that weaken grout.
- Frequent Cleaning – Harsh chemicals can erode grout lines.
- Temperature Changes – Expansion and contraction of tiles cause cracks.
Signs You Need to Fix Missing Grout
- Visible gaps between tiles
- Grout that’s crumbling or falling out
- Dark stains or mold growth along grout lines
- Tiles that shift or sound hollow when tapped
- Water pooling or leaking near the shower area
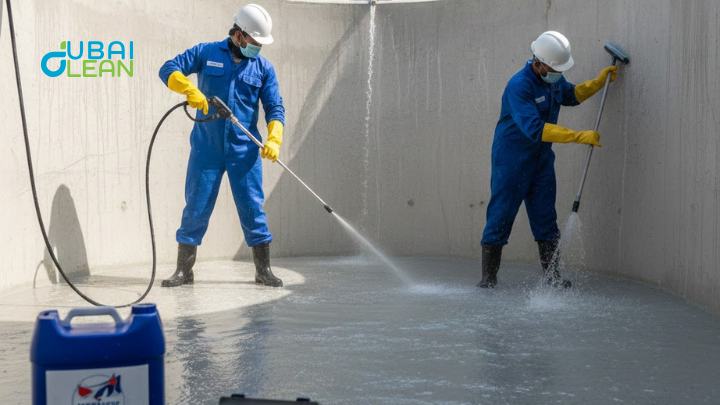
DIY vs. Professional Repair
Small areas of missing grout can often be repaired at home. However, for large sections, deep cracks, or recurring issues, hiring a professional is safer and ensures longer-lasting results.
Step-by-Step Guide: How to Fix Missing Grout in Your Shower
The process can be broken down into nine key stages.
Step 1. Gather the Right Tools and Materials
You’ll need:
- Grout mix (choose sanded for gaps over 3mm, unsanded for smaller gaps)
- Grout float (rubber-edged tool)
- Grout removal tool or oscillating multi-tool
- Sponge and clean cloths
- Bucket of water
- Tile cleaner or mild detergent
- Protective gloves and mask
- Grout sealer for protection
Pro Tip: In Dubai’s humid climate, choose a mold-resistant grout for showers.
Step 2. Remove Loose or Damaged Grout
Before adding new grout, all loose material must be removed:
- Use a grout saw or oscillating tool to scrape out damaged grout.
- Work slowly to avoid scratching tiles.
- Vacuum or brush away debris.
This step ensures your new grout bonds properly and doesn’t crack prematurely.
Step 3. Clean the Area Thoroughly
Moisture and soap scum can prevent grout adhesion:
- Use a mild tile cleaner to remove dirt and stains.
- Rinse with clean water and let it dry completely before proceeding.
Step 4. Mix the Grout
- Follow the manufacturer’s instructions.
- Aim for a peanut butter-like consistency – not too watery, not too dry.
- Only mix as much as you can apply in 30 minutes to avoid waste.
Step 5. Apply the New Grout
- Use a grout float to press grout firmly into the gaps.
- Hold the float at a 45° angle for better coverage.
- Work in small sections for accuracy.
Pro Tip: Push the grout deep into the joints to ensure a watertight seal.
Step 6. Remove Excess Grout
- Drag the float diagonally across tiles to remove extra material.
- Avoid moving parallel to the grout lines to prevent pulling grout out.
Step 7. Wipe Down Tiles
- Wait 15-30 minutes until grout starts to set.
- Use a damp sponge in circular motions to clean tile surfaces.
- Rinse the sponge frequently to avoid leaving haze.
Step 8. Let Grout Cure
- Allow 24-48 hours before using the shower.
- Keep the area dry and ventilated during curing.
Step 9. Apply a Grout Sealer
- Once cured, apply a grout sealer to protect against moisture and stains.
- Reapply annually for best results in Dubai bathrooms.
Extra Tips for Long-Lasting Grout Repairs
- Wipe down shower walls after each use to reduce moisture exposure.
- Avoid abrasive cleaners that weaken grout.
- Inspect grout monthly and fix small cracks immediately.
- Hire a professional for periodic deep cleaning.
Common Mistakes to Avoid
- Not Removing All Damaged Grout – Causes poor adhesion.
- Skipping the Sealer – Leads to faster water penetration.
- Using the Shower Too Soon – Weakens the bond before curing.
- Choosing the Wrong Grout Type – Causes premature cracking.
Maintenance Schedule for Dubai Bathrooms
| Frequency | What to do |
| Daily | Wipe shower walls dry. |
| Weekly | Use a mild cleaner to prevent soap and scum build-up. |
| Monthly | Inspect grout lines. |
| Yearly | Reapply grout sealer. |
Why Quick Action is Critical
In Dubai’s climate, small grout issues can escalate quickly. Water seepage can:
- Damage underlying wall structures
- Cause tiles to loosen or pop off
- Lead to expensive mold remediation
- Lower property value if left untreated
When to Call a Professional
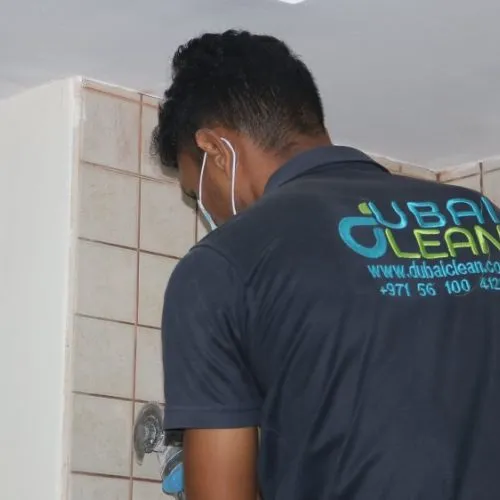
You should contact a professional if:
- More than 25% of the grout is missing or damaged
- Tiles are loose or shifting
- There’s visible mold beneath tiles
- DIY repairs have failed multiple times
Professionals have access to specialized tools, waterproof grouts, and sealing techniques that ensure a longer-lasting finish.
FAQs
Conclusion
Missing grout might seem like a minor cosmetic flaw, but in reality, it’s a serious maintenance issue, especially in Dubai’s humid environment. By following the correct repair steps, you can protect your shower from water damage, maintain a clean and mold-free space, and avoid expensive tile replacements.
Whether you tackle the repair yourself or hire a professional for a long-lasting finish, the key is acting quickly. In the long run, a few hours of work today can save you thousands in future repairs.