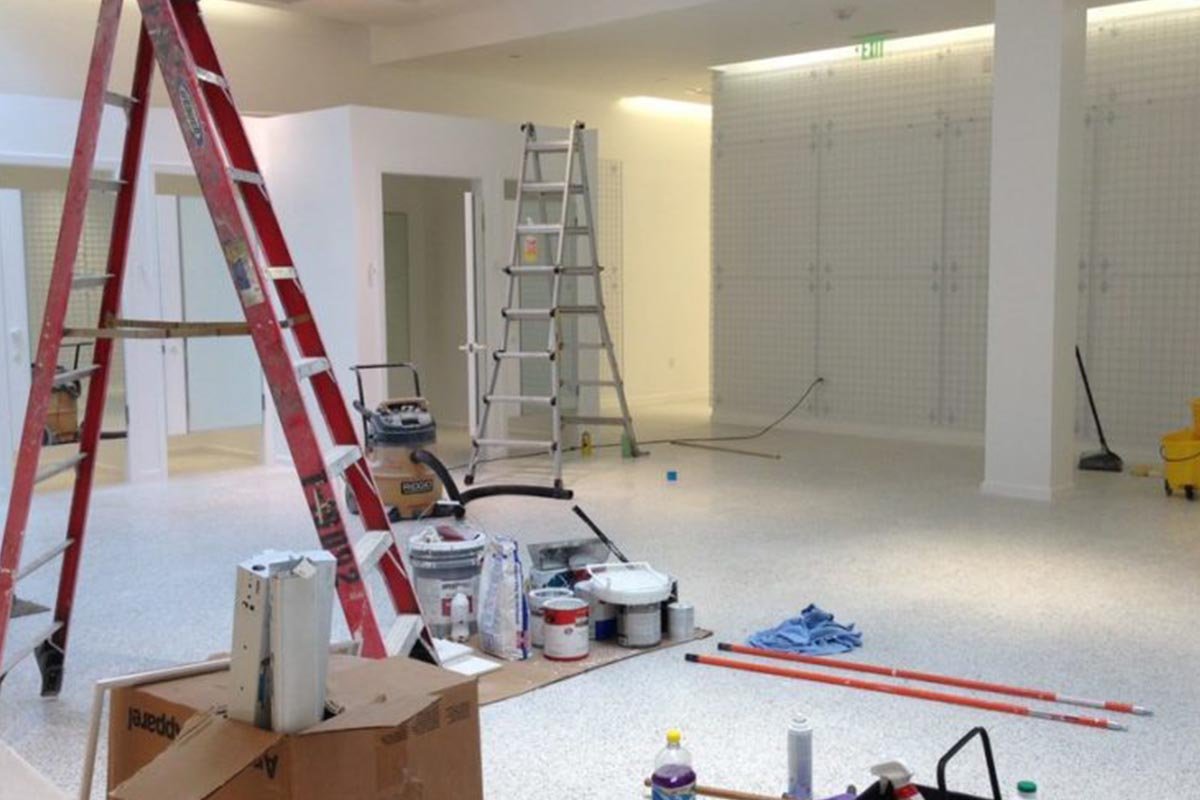
Just finished building or renovating? Before you can enjoy your new space, there’s one last job—cleaning up the dust, debris, and mess left behind. Post-construction cleaning is deeper than regular cleaning and especially important in Dubai’s dusty climate.
Whether it’s a new villa in Arabian Ranches or a kitchen remodel in Downtown, this guide covers everything you need to know to clean your home safely and efficiently after the builders leave.
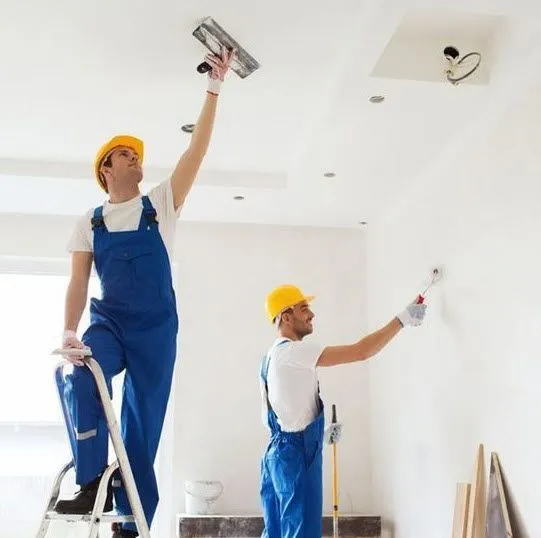
Why Post-Construction Cleaning Is So Important
After any building or renovation project, your home is left with a mix of:
- Construction dust (drywall, sawdust, cement)
- Paint splatters or residue
- Adhesive marks and protective tape
- Leftover building materials
- Dirty floors and windows
- Airborne particles in vents and ducts
If left untouched, these can damage surfaces, clog filters, and even cause allergies or breathing issues—especially for children or elderly family members.
That’s why post-construction cleaning is essential. Not only for aesthetics—but also for your health and safety.
What You’ll Need for a Thorough Builder Clean
Before starting, gather the right tools and supplies. Post-construction dust is different from regular dirt and needs to be treated carefully.
Tools & Equipment:
- Industrial or high-powered vacuum cleaner (with HEPA filter)
- Microfiber dusters and cloths
- Mop and bucket (or steam mop)
- Step ladder (for ceilings and light fixtures)
- Scraper or razor blade (for removing paint from windows)
- Protective gloves and face mask
Cleaning Products:
- pH-neutral floor cleaner
- Glass cleaner
- Degreaser
- Mild soap or all-purpose cleaner
- Disinfectant spray
- Adhesive remover (optional)
Pro Tip: Avoid harsh chemicals on newly painted or treated surfaces.
Step-by-Step: How to Clean a House After a Builder
Post-construction cleaning can feel overwhelming, but breaking it down into steps makes the job much easier. Here’s the order we recommend for best results:
Step 1: Start with Air Vents and Ceilings
Dust falls down, not up—so always start from the top. Use a microfiber duster to clean:
- Ceiling corners
- Light fixtures and fans
- Air conditioning vents
- Smoke alarms
If you have central AC, consider getting your ducts professionally cleaned.
Step 2: Remove Large Debris and Trash
Collect leftover materials like plastic wrapping, cardboard, wood scraps, and builder tools. Check behind doors, inside cabinets, and under sinks.
Step 3: Dry Dust All Surfaces
Using dry microfiber cloths, wipe down:
- Walls and doors
- Baseboards
- Switchboards and sockets
- Windowsills and window frames
- Cabinet interiors
Avoid wet wiping at this stage—dry dusting first ensures you don’t smear fine particles.
Step 4: Wet Wipe Surfaces
Once the loose dust is gone, use a damp cloth and a gentle cleaner to wipe:
- Shelves
- Door handles
- Countertops
- Furniture
- Kitchen appliances
Avoid excess moisture—you don’t want water seeping into fresh woodwork or grout.
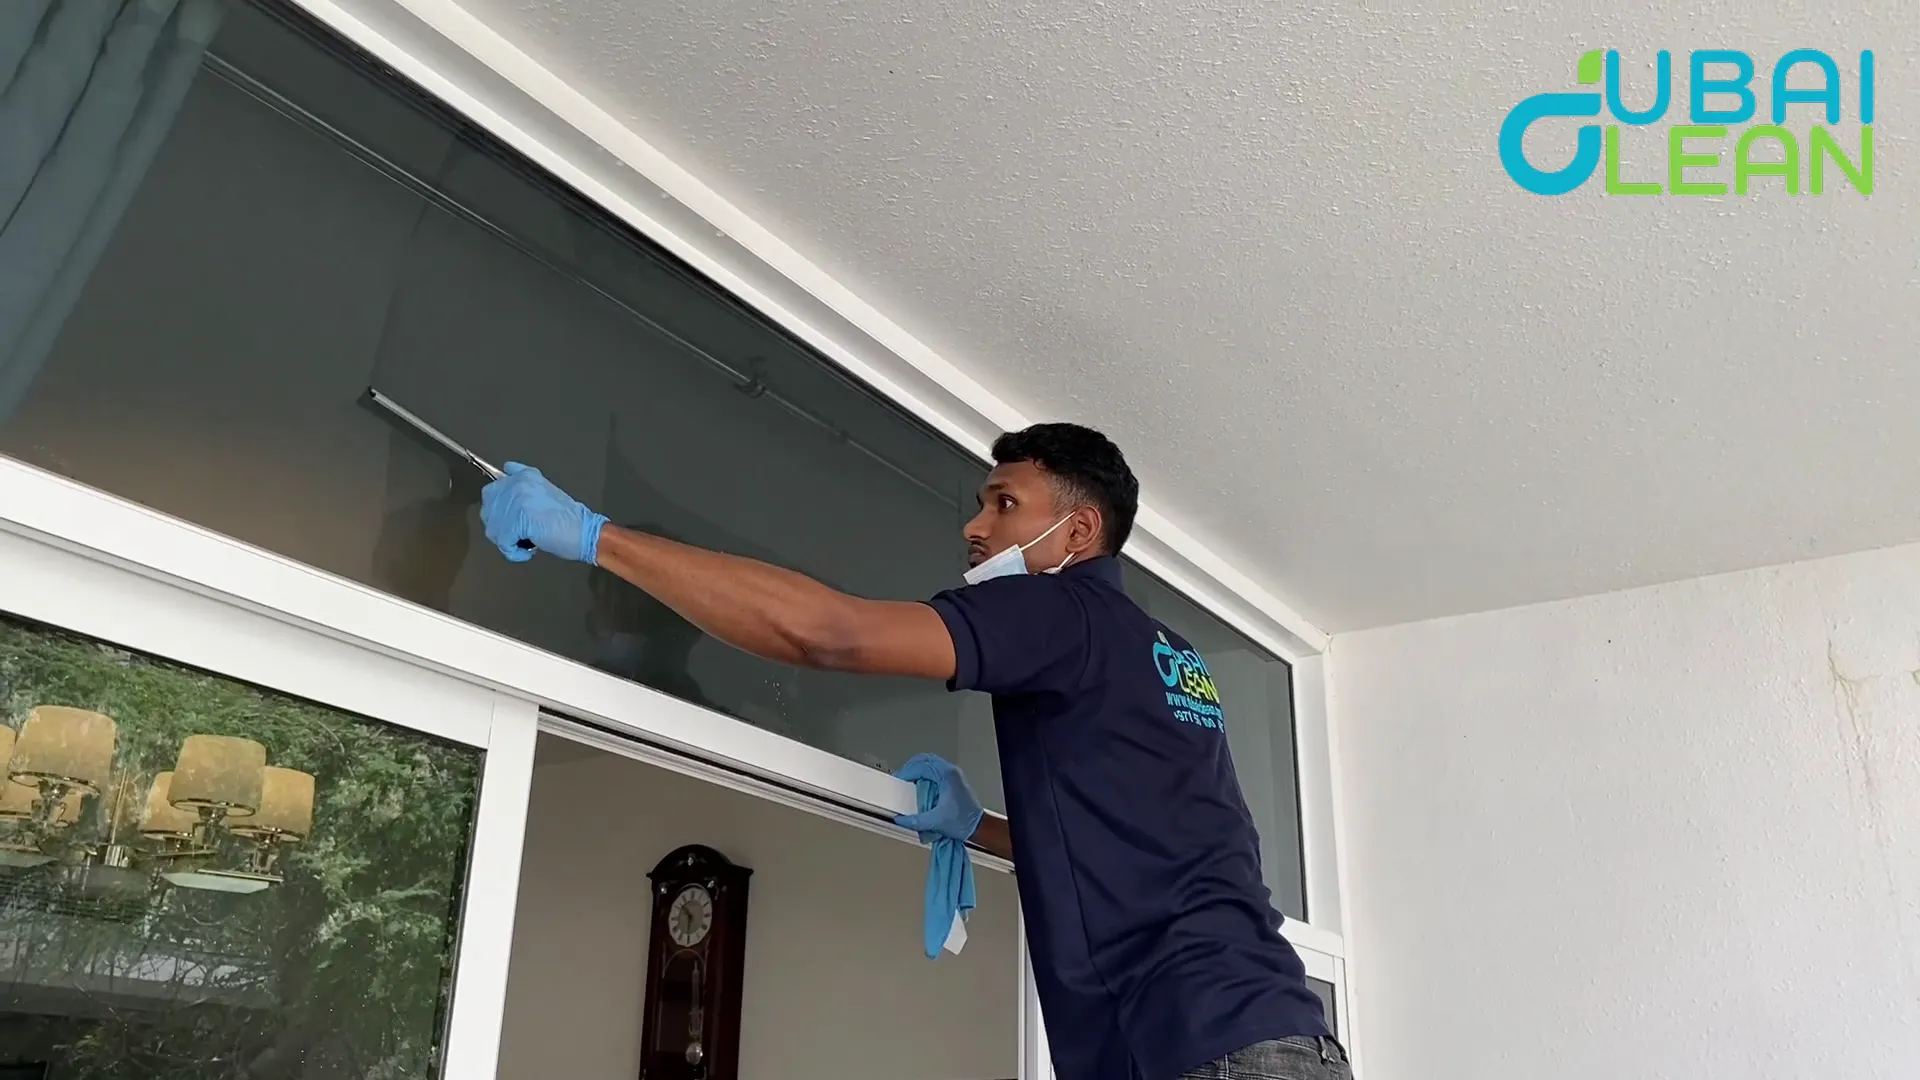
Step 5: Clean Glass and Mirrors
Remove any paint splashes or tape residue using a glass-safe scraper or mild adhesive remover. Follow up with a streak-free glass cleaner.
This applies to:
- Windows
- Mirrors
- Shower enclosures
- Glass tabletops
Step 6: Floors Come Last
Vacuum thoroughly—preferably with a HEPA vacuum—to remove fine dust that regular vacuums might blow back into the air.
Then mop with a pH-neutral floor cleaner. For marble, tile, or vinyl floors, avoid anything too acidic or abrasive.
Step 7: Disinfect High-Touch Areas
Finish off by disinfecting:
- Doorknobs
- Light switches
- Remote controls
- Kitchen and bathroom handles
Especially important if you’ve had multiple workers inside during the build.
Bonus Areas Not to Forget
These often get overlooked but deserve attention during your post-builder clean:
- Inside drawers and cabinets
- Closet shelves
- Under appliances
- Garage floors and storage rooms
- Balconies and terraces
- Grout lines (use a steam cleaner or brush)
How Long Does It Take to Clean After a Renovation?
This depends on the size of your home and the extent of the renovation.
| Home Size | Estimated Cleaning Time |
| 1-bedroom apartment | 4–6 hours |
| 2–3 bedroom apartment | 6–8 hours |
| Villa (4–5 bedrooms) | 1–2 full days |
Pro Tip: If your space has delicate surfaces like marble, engineered wood, or custom cabinetry—go slow, and use the right products.
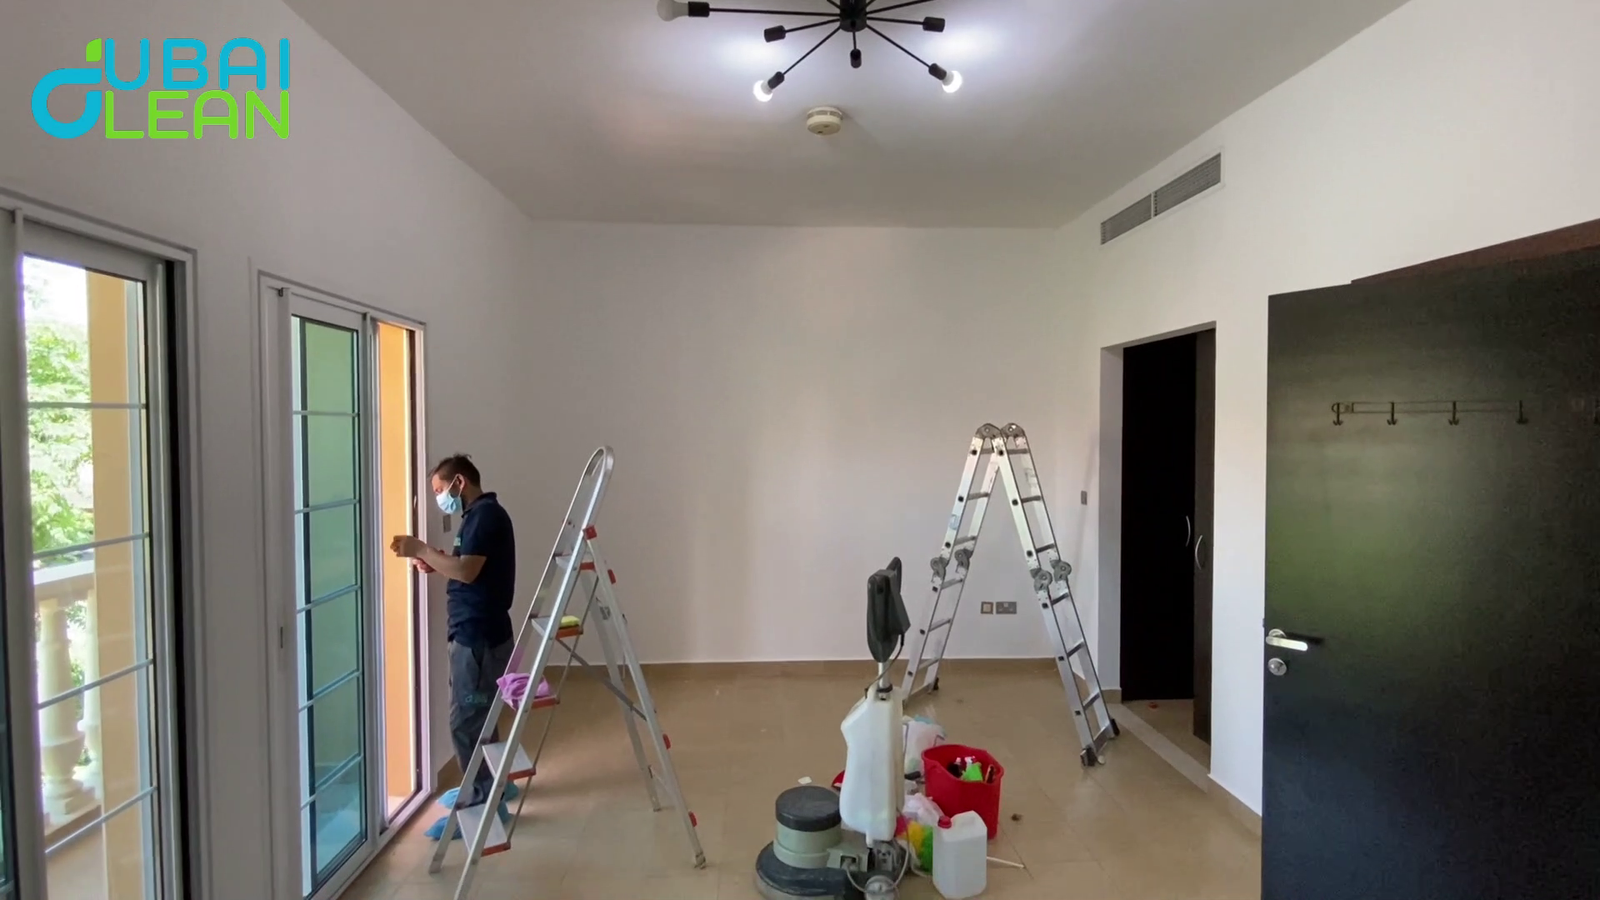
Should You Hire a Post-Construction Cleaning Service in Dubai?
If you’re short on time, energy, or equipment, it’s absolutely worth hiring professionals. Post-construction cleaning is physically demanding and requires expertise in:
- Dust control and removal
- Stain and paint spot treatment
- Marble-safe floor care
- High-level sanitation
- Eco-friendly methods (if preferred)
Many cleaning companies in Dubai offer dedicated post-builder packages, where they send trained staff with the tools needed for deep cleaning after renovations.
What Does Professional Post-Construction Cleaning Include?
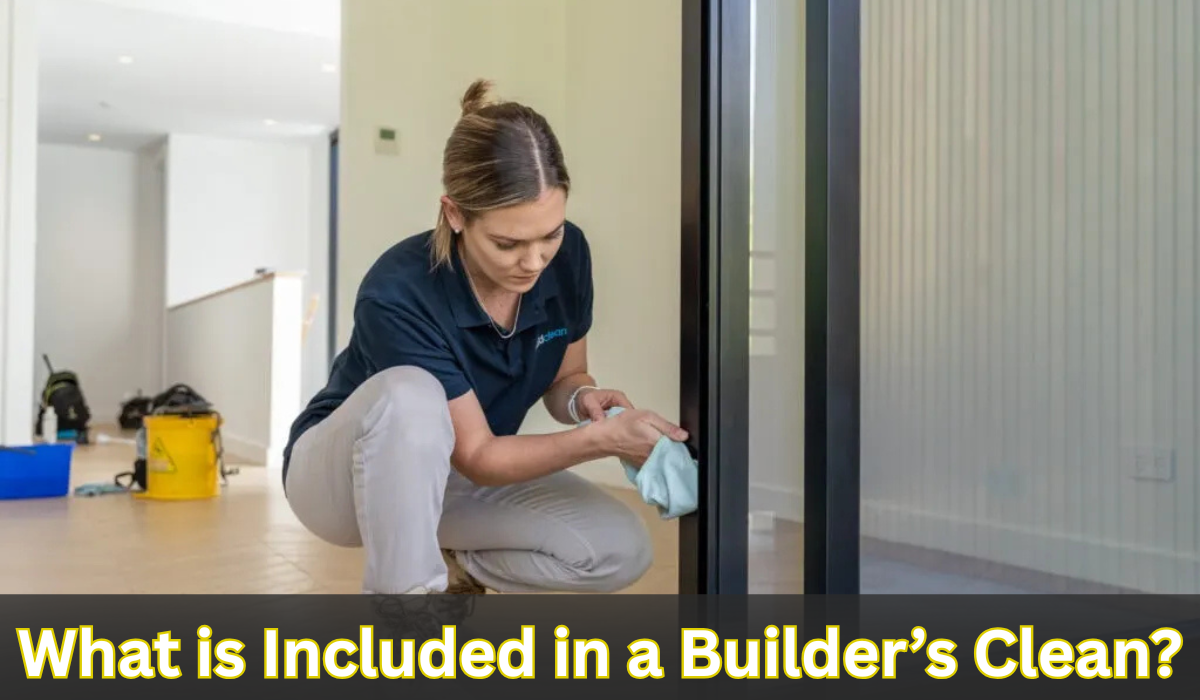
A good cleaning service will typically cover:
- Dust removal from all surfaces
- Floor vacuuming and mopping
- Bathroom and kitchen deep cleaning
- Window and glass washing
- Adhesive and sticker removal
- Disinfection of high-touch points
- Optional polishing or sealing of surfaces (extra cost)
Estimated Cost in Dubai
| Service Type | Estimated Cost (AED) |
| 1BHK Apartment | 300–500 |
| 2–3BHK Apartment | 500–800 |
| Small Villa (up to 3000 sq. ft) | 800–1200 |
| Large Villa or Commercial Unit | Custom quote |
Prices may vary based on the level of debris, dust, and detailing required.
FAQs
Conclusion
Renovating or building a home in Dubai is exciting—but the mess left behind can feel overwhelming. With the right tools, some patience, and a clear plan, you can turn your post-construction chaos into a clean, livable space in no time.
That said, if you want a spotless, move-in-ready finish without the stress, let the experts help.