When it comes to tile installation, understanding how long grout needs to dry is crucial for achieving lasting and professional results. Proper drying time ensures the grout sets firmly, preventing cracks, discoloration, or moisture damage. Rushing the drying process is one of the most common mistakes homeowners make, often leading to weak joints and costly repairs.
Several factors influence grout drying time, including humidity, temperature, and the type of grout used. By learning how these elements work together, you can plan your project more effectively and avoid common pitfalls. In this guide, we’ll explore average drying times, expert tips to speed up the process safely, and signs your grout is ready for sealing or use.
1. Understanding What Grout Is and How It Works
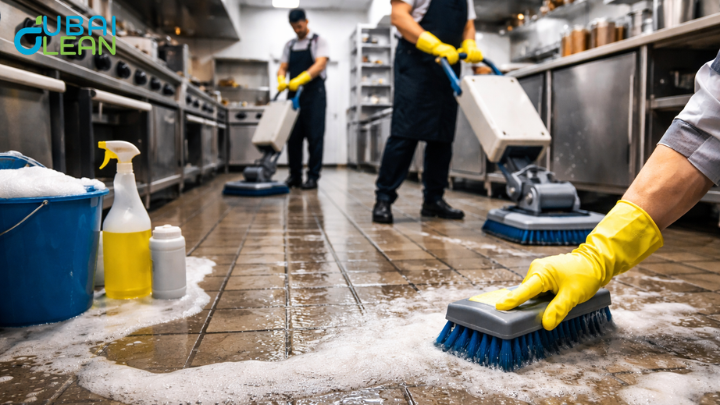
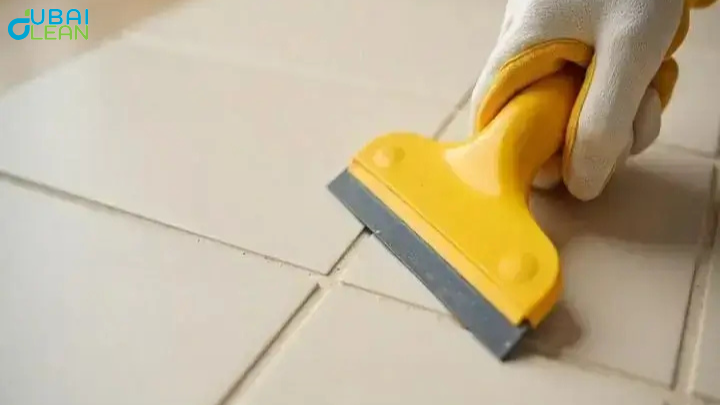
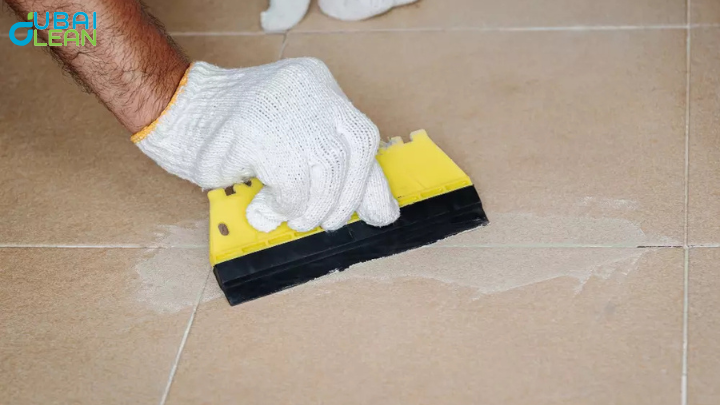
Grout is an essential material used in almost every tiling project, playing a key role in both function and appearance. It fills the gaps between tiles, providing stability, strength, and a smooth finish. Without proper grouting, tiles can shift, crack, or allow moisture to penetrate underneath, causing long-term damage. Regular grout cleaning services in Dubai help maintain this strength and appearance, ensuring your tiled surfaces stay spotless, durable, and visually appealing for years.
Definition and purpose of grout in tiling
Grout acts as a binding and sealing material between tiles, ensuring they stay in place and preventing debris or moisture from entering the gaps. It also enhances the overall aesthetic, giving the surface a polished and cohesive look. Proper grouting adds durability and extends the lifespan of your tiled areas.
Different types of grout (cement-based, epoxy, urethane)
There are three main types of grout: cement-based, epoxy, and urethane. Cement grout is affordable and easy to apply, epoxy grout is highly resistant to stains and moisture, and urethane grout offers flexibility with strong adhesion. Each type has its unique benefits depending on the area and purpose of the project.
How grout bonds tiles and protects surfaces
When applied correctly, grout bonds tiles firmly and seals the spaces between them, preventing movement and water infiltration. This bond strengthens the entire tiled surface, making it resistant to wear, cracking, and discoloration. Properly cured grout ensures long-lasting beauty and protection for your floors and walls.
2. How Long Does Grout Need to Dry?
The drying time of grout is one of the most critical factors in achieving a strong, long-lasting tile installation. Depending on the type of grout used, the drying process can range from a few hours to several days. Rushing this step can lead to weak joints, cracks, or uneven color once sealed. By understanding how long different grout types take to dry, you can plan your project efficiently and ensure flawless results every time.
Typical drying times for different grout types
On average, grout takes between 24 to 72 hours to fully dry, though the exact time depends on the type, humidity, and temperature. Cement-based grout usually requires more drying time, while epoxy and urethane grouts tend to cure faster. Always refer to the manufacturer’s recommendations for accurate drying times before walking on or sealing your tiled surface.
Cement-based grout: average drying time
Cement-based grout, the most commonly used type, typically takes 48 to 72 hours to dry completely. Factors like ventilation, room temperature, and grout thickness can influence the total curing time. It’s best to wait at least two days before cleaning or sealing to ensure the grout sets firmly and avoids moisture damage.
Epoxy grout: faster but more sensitive curing
Epoxy grout dries faster, usually within 24 hours, but it requires precise handling and ideal conditions. Because it’s made with resin and hardener, improper mixing or high humidity can affect its final strength and color. While epoxy grout offers superior resistance to water and stains, it’s crucial to allow enough curing time for a perfect, glossy finish.
3. Factors That Affect Grout Drying Time
Grout drying time isn’t the same for every project several environmental and material factors can significantly influence how quickly or slowly it cures. Everything from room humidity to airflow plays a role in the final outcome. Understanding these factors helps you plan your project timeline more accurately and avoid issues like cracking, discoloration, or premature sealing. Proper drying ensures your grout achieves maximum strength and durability.
Humidity and room temperature
High humidity slows down grout drying because excess moisture in the air prevents proper evaporation. Similarly, cooler temperatures can delay curing, while moderate warmth speeds it up. Ideally, grout should dry in a room with a stable temperature between 20–25°C (68–77°F) and low humidity for best results.
Type of tile and surface material
Different tile materials such as ceramic, porcelain, or natural stone absorb and retain moisture differently. Porous tiles may draw moisture out of the grout faster, while glazed or sealed surfaces allow it to dry more slowly. Knowing your tile type helps you estimate accurate drying times and adjust ventilation accordingly.
Thickness of grout application
The thicker the grout layer, the longer it takes to dry completely. Deep grout lines or uneven application can trap moisture inside, slowing the curing process. Applying grout evenly and in thin layers ensures consistent drying and prevents soft spots or cracks later.
4. How to Speed Up Grout Drying Safely
If you’re on a tight schedule, it’s tempting to rush the grout drying process but doing so incorrectly can compromise the final result. The key is to speed up drying without affecting strength or durability. Safe methods like improving ventilation, controlling room temperature, and managing humidity can significantly reduce drying time while maintaining grout quality. These small adjustments help you achieve a faster, more even cure and a flawless finish.
Use fans and dehumidifiers for better airflow
Good airflow is essential for faster drying. Placing fans near the tiled area helps circulate air, while a dehumidifier removes excess moisture from the room. This combination creates the ideal environment for grout to dry evenly and prevents issues like surface cracking or color fading.
Maintain consistent indoor temperature
Grout dries best in warm, stable conditions ideally around 20–25°C (68–77°F). Sudden temperature drops or drafts can slow down curing and cause uneven results. Keeping the room consistently warm helps moisture evaporate steadily, reducing total drying time without compromising the grout’s bond strength.
5. Common Mistakes to Avoid During Grout Drying
Even the best tile installation can fail if the grout drying process isn’t handled properly. Many homeowners unknowingly make small errors that lead to cracks, discoloration, or weakened joints. The key to a long-lasting and beautiful finish is patience and following the correct drying guidelines. Avoiding these common mistakes ensures your grout cures evenly, maintains its strength, and provides lasting protection against moisture and dirt.
Walking on grout too soon
One of the biggest mistakes is walking on the tiles before the grout has fully cured. Even light foot traffic can cause dents, uneven surfaces, or broken bonds between tiles. Always wait at least 24–72 hours, depending on the grout type, before stepping on the area or placing furniture.
Cleaning or sealing before it’s fully cured
Cleaning or sealing grout prematurely can trap moisture and cause discoloration or weak spots. Sealing too early prevents the grout from breathing and hardening properly. It’s best to wait until the grout is completely dry and hardened, usually 2 to 3 days before sealing or performing any cleaning.
Ignoring manufacturer’s instructions
Every grout product has unique properties and recommended drying times. Ignoring the manufacturer’s instructions can lead to poor results, regardless of how well the grout was applied. Always follow the guidelines on the packaging for curing time, ventilation, and sealing to achieve professional-quality, long-lasting results.
6. How Long Should You Wait Before Sealing Grout?
Sealing grout is a crucial final step that protects your tiled surfaces from stains, moisture, and daily wear. However, sealing too soon can trap moisture, weaken the grout, and lead to discoloration. To get long-lasting results, it’s important to wait the proper amount of time before sealing and choose the right sealer for your grout type. Proper sealing not only enhances the grout’s appearance but also extends the lifespan of your tiles.
Recommended waiting times before sealing
Generally, it’s best to wait at least 48 to 72 hours before applying any grout sealer. This ensures the grout has fully dried and hardened. Some epoxy or urethane grouts may require less time, while cement-based grout often needs the full three days. Always double-check the manufacturer’s recommended drying period before sealing.
Why sealing too early can cause damage
Sealing grout too early can trap moisture underneath, leading to:
- Mold and mildew growth due to retained moisture
- Discoloration or patchy appearance on the grout surface
- Weakened bonding that shortens grout lifespan
Patience pays off waiting ensures a strong, uniform, and protective seal.
Tips for choosing the right grout sealer
Selecting the right sealer depends on the type of grout and area of use:
- Penetrating sealers are ideal for high-moisture areas like bathrooms and kitchens.
- Membrane-forming sealers work well for low-moisture zones such as backsplashes.
- Always choose a UV-resistant sealer if your tiles are exposed to direct sunlight.
Conclusion
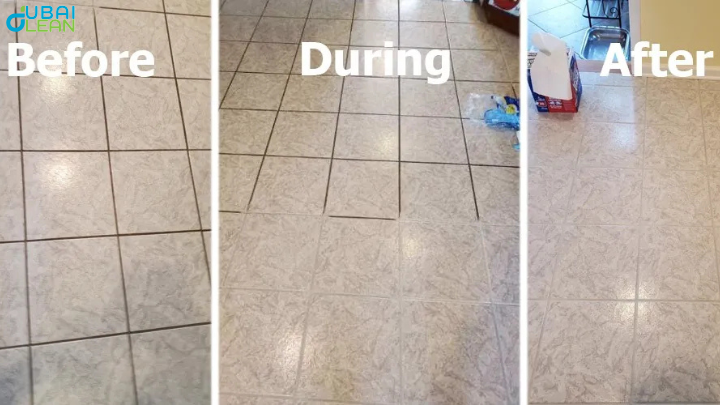
Grout drying may seem like a small step, but it plays a major role in the overall strength and look of your tiled surfaces. On average, grout needs 24 to 72 hours to fully cure, depending on the type, temperature, and humidity. Following the correct drying timeline ensures your grout bonds properly, prevents cracking, and maintains a smooth, uniform finish. Regular tile and grout cleaning after the grout has cured helps preserve its appearance, strength, and long-term durability for a flawless finish.
Patience truly pays off when it comes to tile work. Avoid rushing the process, follow product instructions carefully, and perform a quick dryness test before sealing. Once fully cured, seal your grout to protect it from moisture and stains. Wait, test, and seal for grout that lasts years!