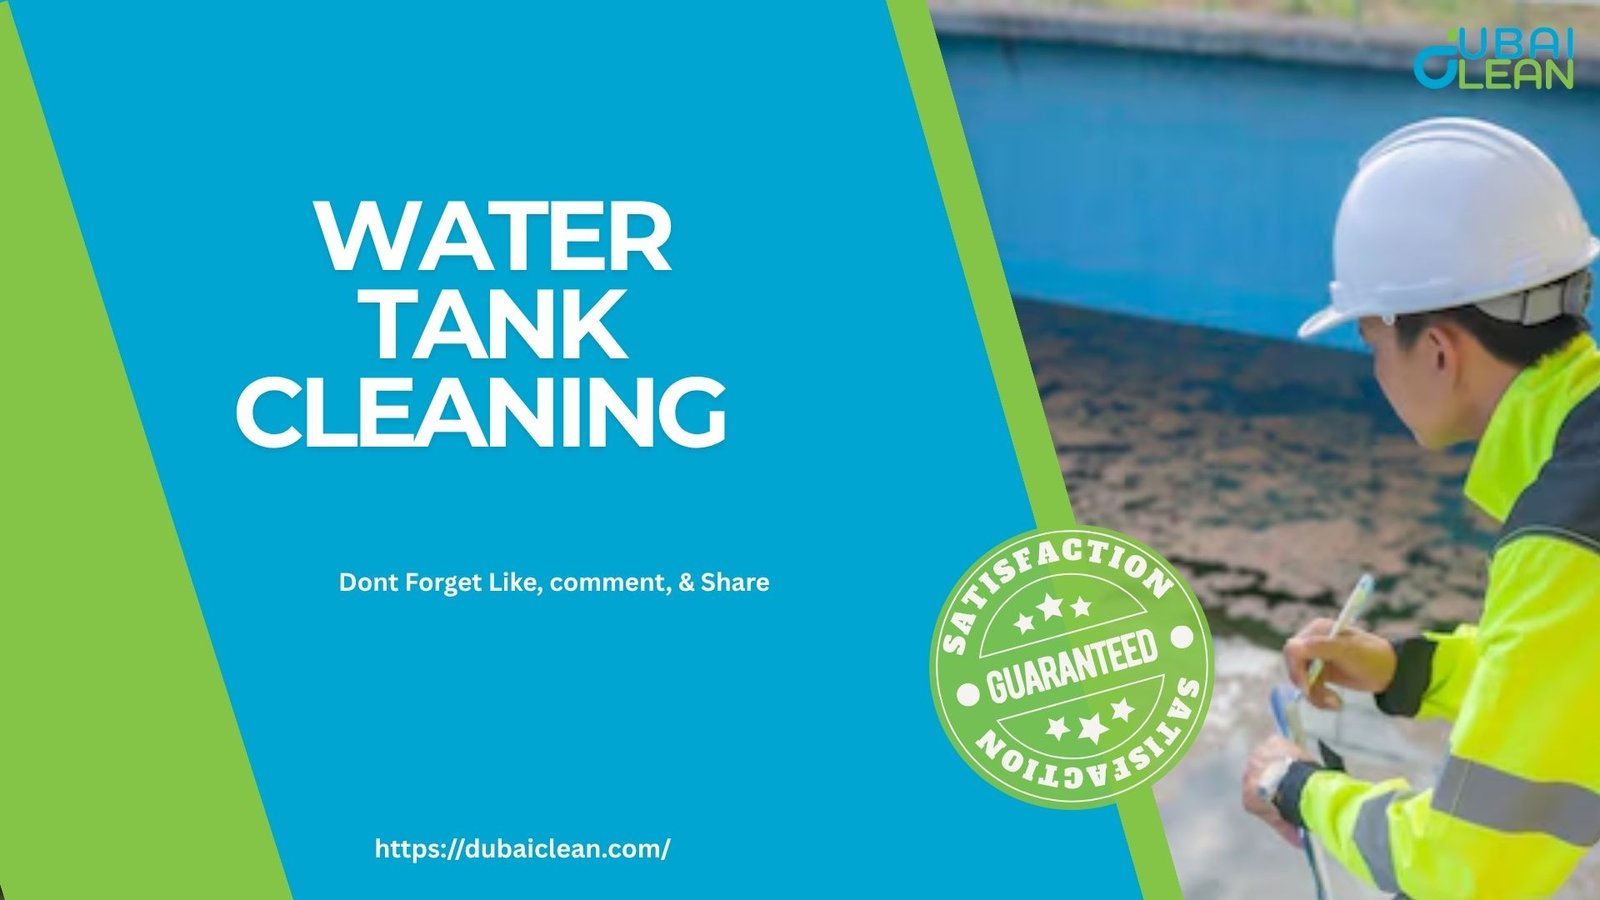
Let’s be honest, water tanks are usually the last thing on our minds until the water smells odd, flows slower than usual, or suddenly isn’t as clean as it should be. If you’re wondering what’s the best way to clean your house water tank, you’re already on the right path.
Whether your tank is above ground or underground, plastic or concrete, regular cleaning is absolutely essential to keep your water supply safe and hygienic. In warm, humid cities like Dubai, where tanks can become breeding grounds for bacteria, cleaning your water tank the right way becomes even more important.
So let’s walk through a simple, effective, and natural approach to cleaning your water tank – safely and properly.
Why Clean Your House Water Tank?
You drink, bathe, cook, and wash using this water – so its cleanliness directly impacts your health.
Common issues caused by dirty tanks:
- Bad odor or taste in water
- Sediment buildup (sand, rust, dirt)
- Growth of algae, slime, or bacteria
- Pipe blockages and low pressure
- Skin irritation and infections
Cleaning your tank helps you prevent all of this – and gives peace of mind that your water is truly clean.
How Often Should You Clean Your Water Tank?
Here’s a general guideline:
| Tank Type | Recommended Cleaning Frequency |
| Plastic Overhead Tank | Every 3-4 months |
| Underground Concrete Tank | Every 6 months |
| Stainless Steel Tank | Every 6 months |
| Fiber/Metal Tanks | 2-3 times per year |
In Dubai or other humid areas, cleaning more often is better, especially during the summer.
Best Way to Clean a House Water Tank: Step-by-Step
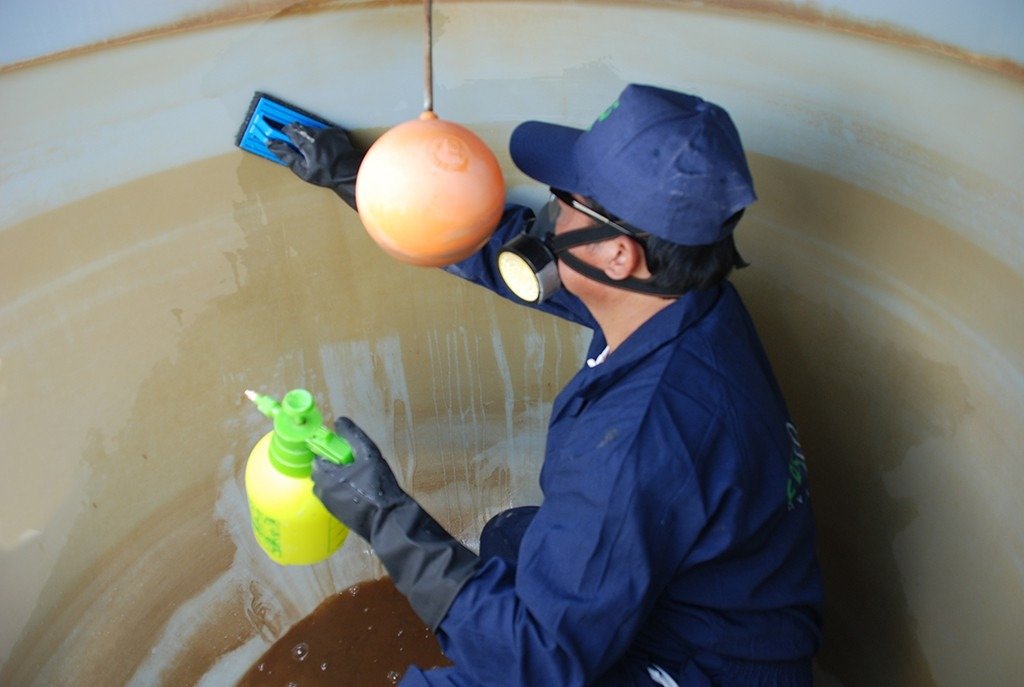
Before you begin, make sure the water supply is turned off, and all taps are closed. Always wear protective gloves, boots, and a mask, especially if the tank hasn’t been cleaned in a while.
Let’s dive in.
Step 1: Drain the Tank Completely
Start by turning off the inflow and draining out all water using:
- A water pump (if the tank is below ground)
- Or simply opening the outlet valve
Make sure no standing water remains at the bottom, this step is crucial.
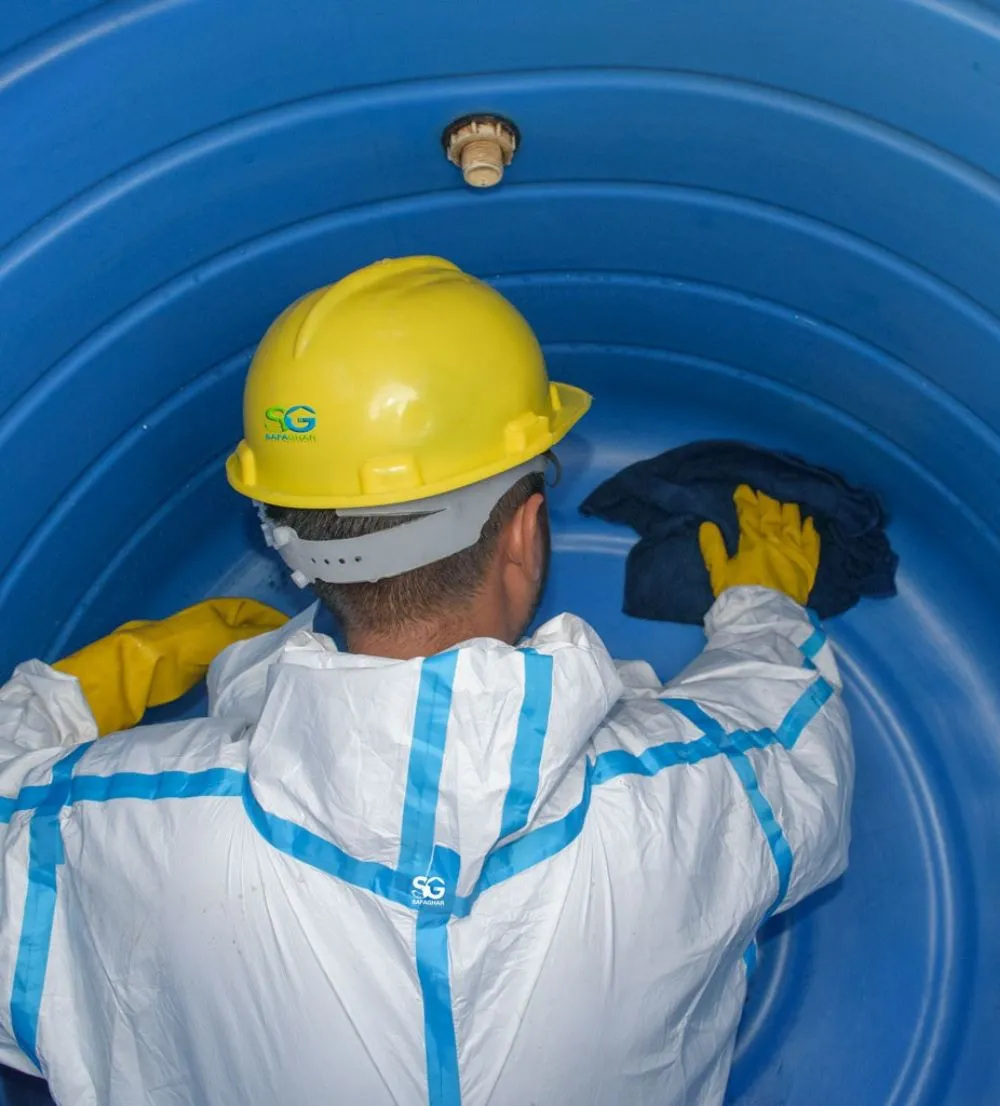
Step 2: Scrub the Inner Walls
Once the tank is empty:
- Use a long-handled scrubber or stiff brush
- Scrub the walls, ceiling, and floor of the tank
- Remove algae, mineral deposits, and slimy layers
This is where most of the dirt and bacteria live, so don’t skip this step or rush it.
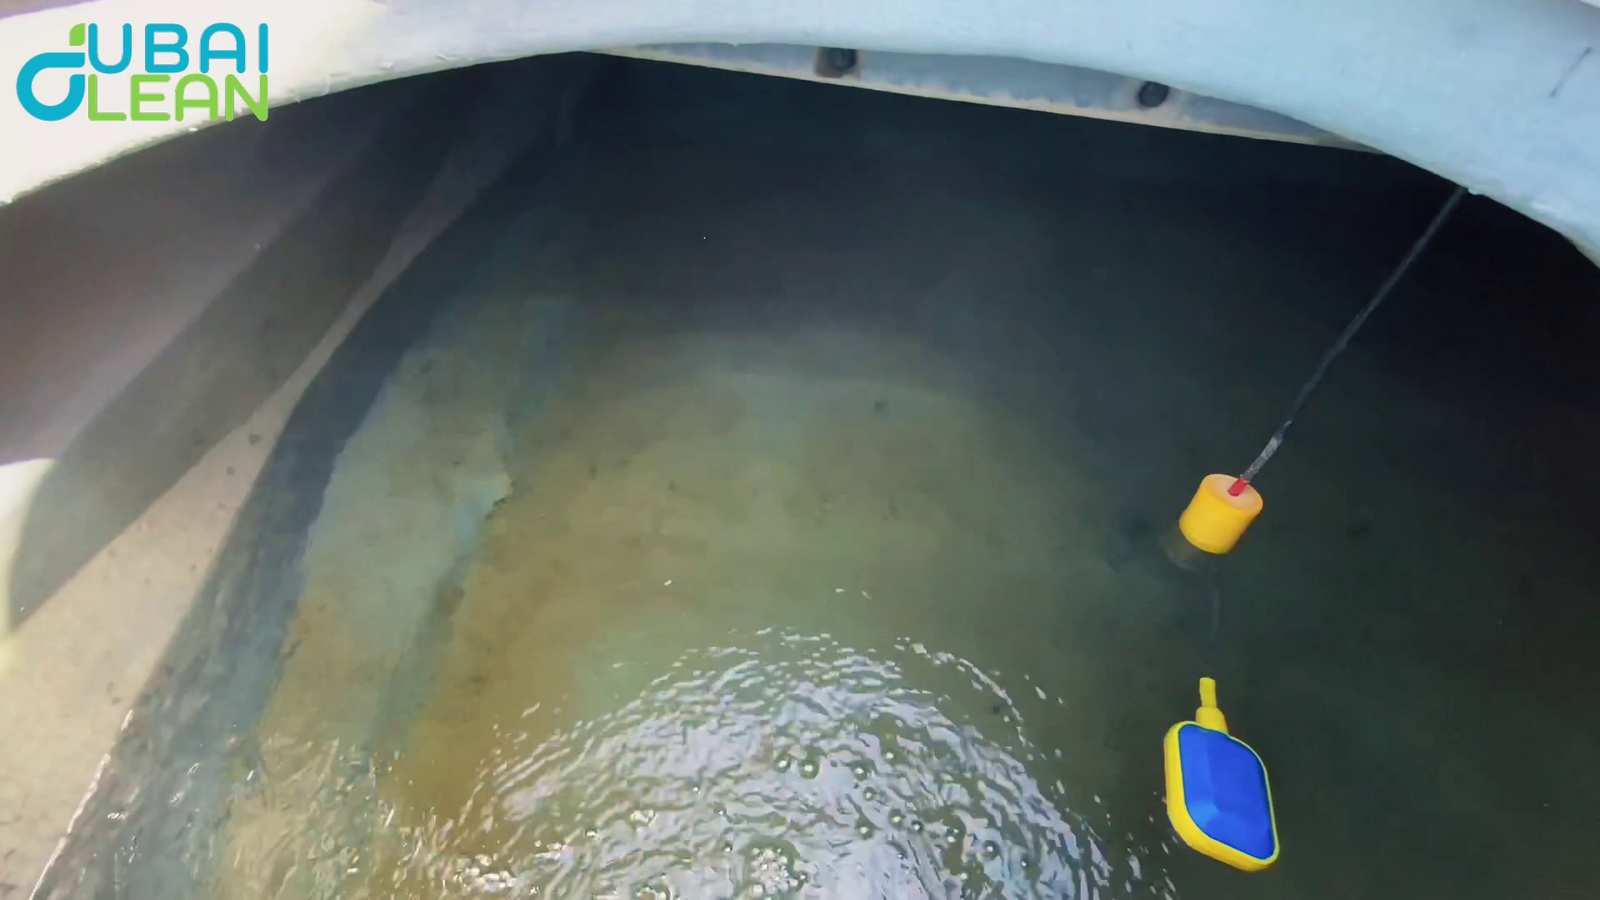
Step 3: Remove Sludge and Debris
You’ll usually find a layer of sediment and sludge at the base of the tank. This could include:
- Sand
- Dust
- Insects or leaves (in open tanks)
Use:
- A wet/dry vacuum
- Or manually scoop it out using a dustpan or sponge mop
Dispose of the sludge safely, away from your drainage system.
Step 4: Prepare a Natural Cleaning Solution
Avoid chemical cleaners, especially if the tank holds drinking or bathing water. Instead, use safe, natural alternatives.
| Natural Solution | Ingredients | How It Helps |
| White Vinegar Mix | 1 part vinegar + 2 parts water | Fights bacteria, removes slime |
| Baking Soda Paste | Baking soda + little water | Scrubs stains & odors |
| Lemon & Salt Combo | Lemon juice + rock salt | Disinfects and freshens |
| Hydrogen Peroxide | 3% solution (use sparingly) | Kills mold and microbes |
Step 5: Scrub Again, Then Rinse Thoroughly
Once the cleaning solution has settled in:
- Scrub the tank again gently
- Rinse out all remaining solution and dirt
- Repeat rinsing until water runs clear
Use a high-pressure hose if available – it makes the job easier.
Step 6: Disinfect with Boiling Water (Optional)
If you want an extra level of disinfection, pour a few liters of boiling water into the tank and slosh it around. This helps kill off remaining bacteria naturally, without chemicals.
Let it sit for 10 minutes, then drain completely.
Step 7: Refill and Reconnect
Once you’re satisfied:
- Close the outlet valve
- Reconnect the inflow pipe
- Fill the tank completely
- Check for any leaks or unusual smells
It’s best to let the first few liters flush through the taps before using the water.
Bonus: Post-Cleaning Maintenance Tips
Now that your tank is clean, keep it that way with these simple habits:
| Maintenance Habit | Benefit |
| Cover the tank tightly | Prevents insects, dust, and sunlight |
| Install a mesh screen | Filters incoming water |
| Clean inlet/outlet pipes | Avoids algae or rust buildup |
| Use a water filter | Keeps sediments out of the tank |
| Set reminders for cleaning | Keeps you on track |
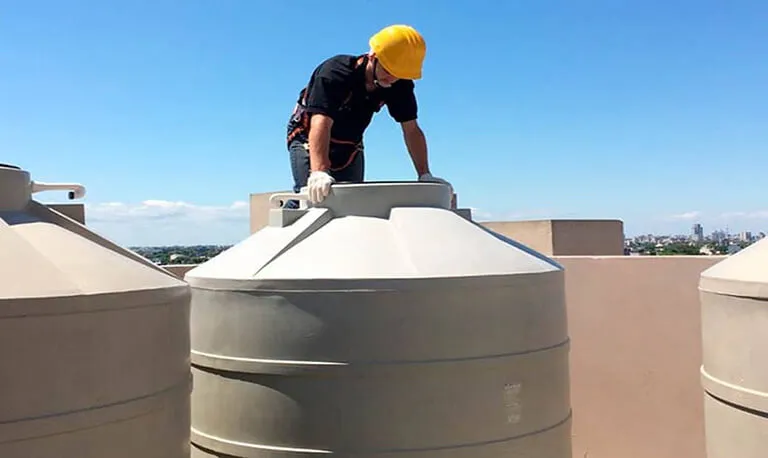
Can You Clean an Underground Tank?
Yes, but underground tanks are harder to access, and the job can be physically demanding.
Here’s what you’ll need:
- A sump pump to drain water
- A ladder or long tools to reach inside
- A bright flashlight or headlamp for visibility
- Proper safety gear
In most cases, people prefer to hire professionals for underground tank cleaning – especially if the tank is large or has been neglected for a long time.
Signs Your Water Tank Needs Cleaning Immediately
Sometimes, you can’t wait for your regular cleaning schedule. Look out for these urgent red flags:
- Foul smell in tap water
- Visible green or black slime in tank
- Dead insects or animals near tank lid
- Discolored water (brown, yellow, or cloudy)
- Water-related illnesses in your household
If you notice any of these, clean the tank immediately and avoid using the water until it’s safe.
Summary Table: House Water Tank Cleaning Process
| Step | Action | Tools/Materials |
| 1. Drain Tank | Empty all water | Pump or outlet valve |
| 2. Scrub Walls | Remove dirt, mold, slime | Long brush or scrubber |
| 3. Remove Sludge | Scoop out debris | Wet/dry vacuum or pan |
| 4. Apply Cleaner | Use vinegar/baking soda/lemon | Sponge, gloves |
| 5. Rinse Thoroughly | Remove all residue | Hose, buckets |
| 6. Disinfect (Optional) | Use boiling water | Kettle or boiling source |
| 7. Refill | Restore water supply | Inflow pipe |
FAQs
Final Thoughts
Cleaning your house water tank might seem like a chore, but it’s one of the most important things you can do for your home and your health.
With a few tools, some safe cleaning solutions, and a bit of effort, you can completely refresh your water system and avoid future problems. Whether you do it yourself or hire help from professionals, keeping your tank clean ensures your family drinks, cooks, and bathes in safe water.