Bathroom Tile Paint: 10 Expert Tricks for a Stunning Makeover
Dubai Painting Service
Bathroom Tile Paint: 10 Expert Tricks for a Stunning Makeover
Usman Tayyab
February 18, 2025
5 min read
Share:
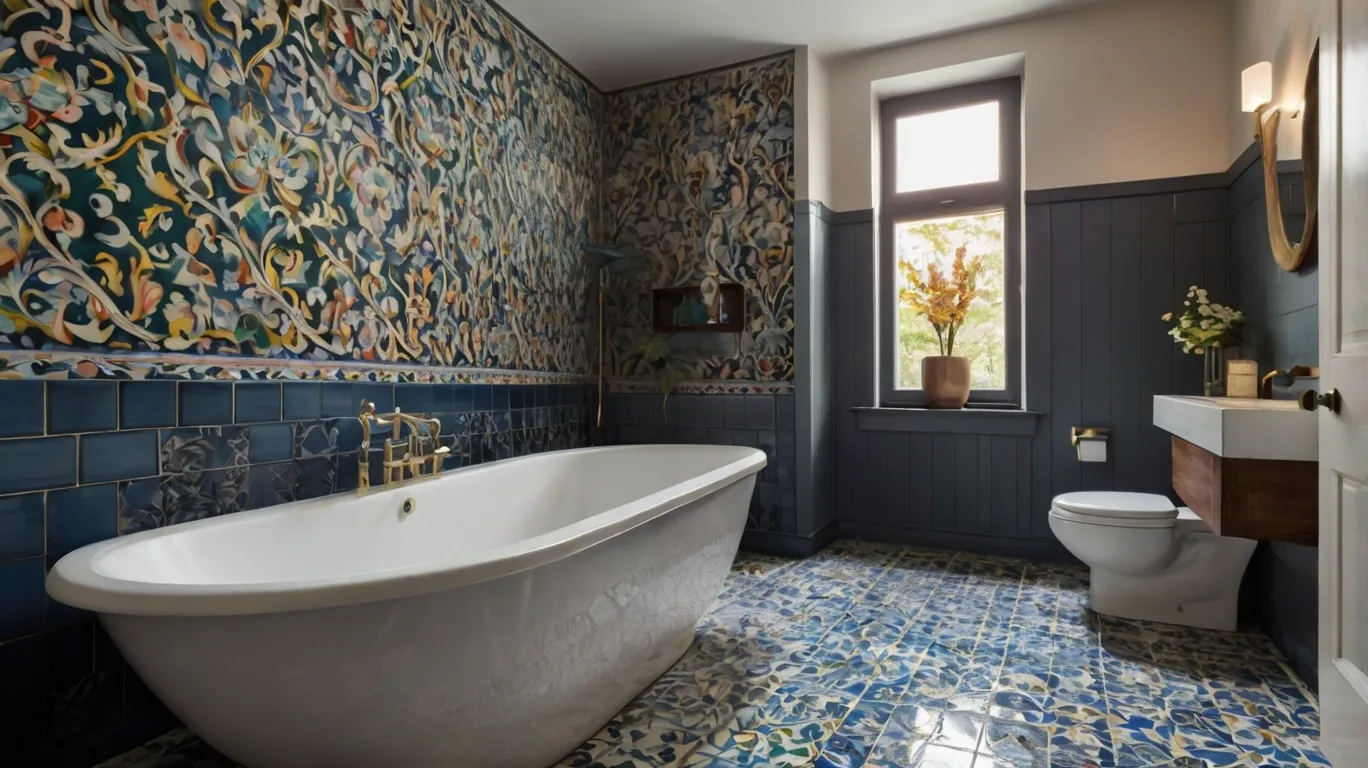
Are you dreaming of a bathroom transformation but cringing at the thought of a costly renovation? Well, get ready to be amazed because we're about to let you in on a little secret that's been taking the DIY world by storm: bathroom tile paint!
That's right, folks – you can give your tired old tiles a fresh new look without breaking the bank or calling in a demolition crew. In this comprehensive guide, we'll walk you through everything you need to know about painting bathroom tiles, from prep work to pro tips that'll have your space looking magazine-worthy in no time.
Why Consider Painting Bathroom Tiles?
Before we dive into the nitty-gritty, let's talk about why painting your bathroom tiles is such a game-changer:
Budget-Friendly Brilliance: Let's face it – ripping out and replacing tiles can cost a small fortune. Painting them, on the other hand, gives you a fresh look for a fraction of the price.
Speed Demon Renovation: Who has time for weeks of construction chaos? With tile painting, you can transform your bathroom in a weekend.
Customization Station: Want a color you can't find in store-bought tiles? With paint, the world (or at least the color wheel) is your oyster!
Eco-Friendly Upgrade: By refreshing your existing tiles, you're keeping them out of landfills. Mother Earth thanks you!
Now that we've piqued your interest, let's roll up our sleeves and get into the good stuff!
Preparing Your Bathroom for Tile Painting: The Foundation of Fabulous
Listen up, because this part is crucial! Proper prep work is the difference between a paint job that lasts for years and one that starts peeling faster than a sunburned tourist. Here's how to prep like a pro:
How to Prep Bathroom Walls for Painting
Clear the Decks: Remove everything from your bathroom. Yes, everything. Your rubber ducky can take a vacation for a few days.
Mask Like a Superhero: Use painter's tape to protect areas you don't want painted. Be meticulous – future you will thank present you.
Scrub-a-Dub-Dub: Clean those tiles like they've never been cleaned before. We're talking elbow grease, people!
Degrease Lightning: Use a degreaser to remove any lingering soap scum or body oils. (Gross, but necessary.)
Sand Down to Business: Lightly sand the tiles to give the paint something to grip onto. Think of it as creating tiny hands for the paint to hold onto.
Repairing Damaged Tiles and Grout
Before you start slapping on paint, take a good look at your tiles and grout. Any cracks, chips, or missing grout need to be addressed. Here's a quick fix guide:
Issue
Solution
Cracked Tile
Fill with epoxy filler, let dry, sand smooth
Chipped Tile
Same as above, but be extra careful to match the tile's contour
Missing Grout
Regrout those areas – it's easier than you think!
Remember, a smooth surface is key to a professional-looking paint job. Don't skimp on these repairs!
Choosing the Right Paint and Tools: Your Recipe for Success
Alright, DIY warriors, it's time to gear up! Choosing the right products can make or break your tile painting project. Let's break it down:
Best Bathroom Tile Paint Options
Not all paints are created equal, especially when it comes to bathroom tiles. You need something that can stand up to moisture, soap, and the occasional splash war. Here are your best bets:
Epoxy Paint: Durable and water-resistant, this is the heavyweight champion of tile paints.
Latex Paint: More forgiving to work with, but make sure it's labeled for bathroom use.
Chalk Paint: Great for a matte finish, but you'll need to seal it well.
Pro Tip: Always choose a paint specifically formulated for bathrooms or high-moisture areas. Your regular wall paint just won't cut it here.
Essential Tools for the Job
Time to raid the hardware store! Here's your shopping list:
Paint rollers (small ones for tiles)
Angled brushes for corners and edges
Paint trays
Sandpaper (fine grit)
Painter's tape
Drop cloths
Cleaning supplies (sponges, rags, etc.)
Safety gear (gloves, eye protection, mask)
The Dynamic Duo: Primer and Sealant
Don't even think about skipping these steps! Primer helps the paint stick, and sealant protects your hard work. It's like underwear and outerwear for your tiles – both essential!
Step-by-Step Guide: How to Paint Bathroom Tile Like a Boss
Alright, it's showtime! Follow these steps, and you'll be admiring your handiwork in no time:
Prime Time: Apply a thin, even coat of primer. Let it dry completely – patience is a virtue!
Paint Party:
Start with edges and corners using your angled brush.
Roll paint onto the flat surfaces in thin, even coats.
Let each coat dry before applying the next (usually 2-3 coats).
Pattern Play (Optional): Feeling fancy? Use stencils or painter's tape to create patterns or designs.
Seal the Deal: Once the paint is fully dry (we're talking 24-48 hours here), apply your sealant. This is your paint's bodyguard against moisture and wear.
Expert Tricks for a Professional Finish: Steal These Secrets!
Want to take your tile painting game to the next level? Here are some pro tips that'll have people thinking you hired a professional:
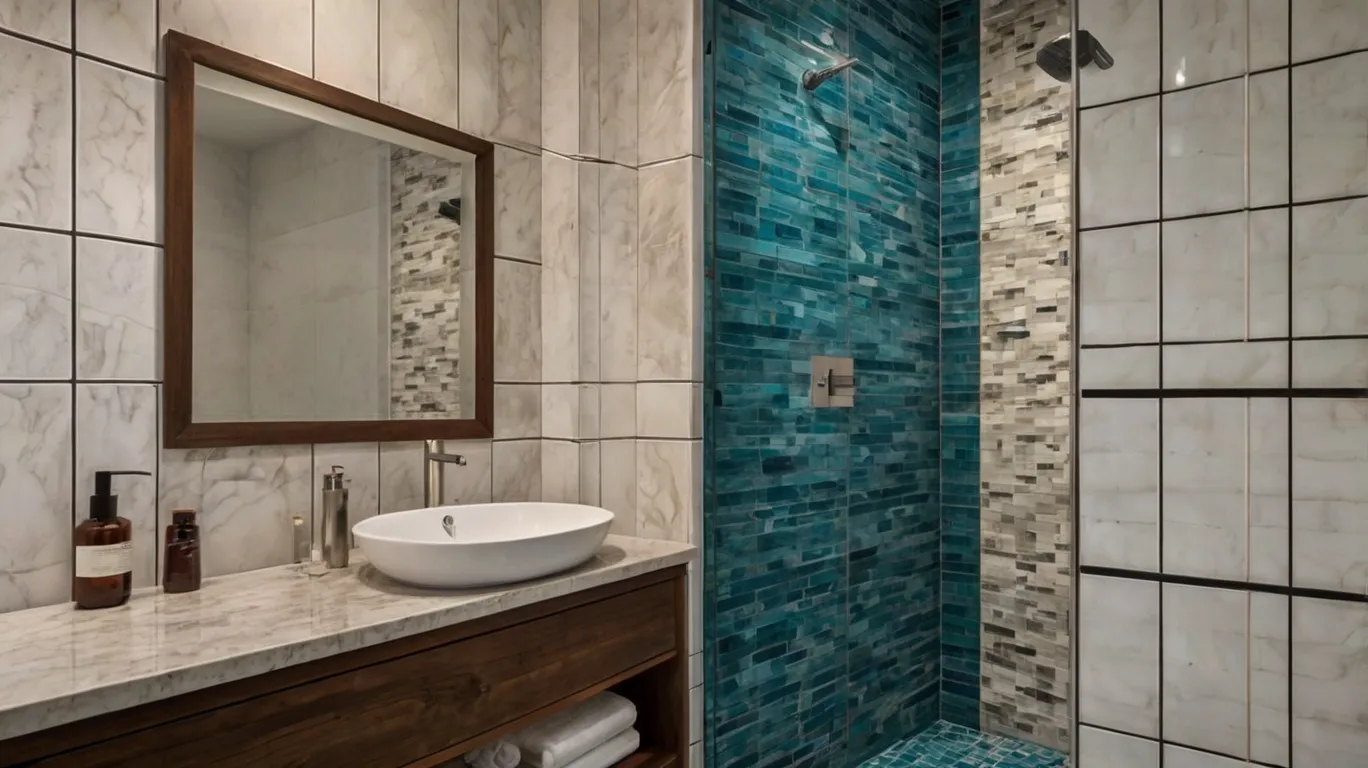
Color Theory 101: When choosing bathroom tile paint colors, consider the size of your space. Light colors make small bathrooms feel bigger, while dark hues can add drama to larger areas.
Texture Tactics: Add a bit of fine sand to your paint for a subtle non-slip texture. Safety and style? Yes, please!
Edge Excellence: Use a small artist's brush for super-crisp lines around fixtures and edges.
Grout Greatness: Paint the grout lines a contrasting color for a truly custom look.
Faux Finish Fabulousness: Create a marble effect by using a feather to swirl two similar shades together while the paint is wet.
Remember, the key to a professional-looking finish is patience and attention to detail. Take your time, and don't rush the process!
Caring for Your Newly Painted Bathroom Tiles: Keep the Love Alive
Congratulations! You've successfully painted your bathroom tiles. But wait, there's more! To keep your new look fresh for years to come, follow these care tips:
Gentle Cleaning: Use non-abrasive cleaners to avoid scratching the paint.
Avoid Harsh Chemicals: Say goodbye to bleach and other strong cleaners that can damage the paint.
Pat Dry: After showers, give your tiles a quick pat down to prevent water from sitting on the surface.
Touch-Up Kit: Keep a small amount of your paint for touch-ups down the road.
How Long After Painting Bathroom Can I Shower?
The million-dollar question! While it's tempting to jump right in, give your paint job at least 24-48 hours to fully cure before exposing it to water. If you're wondering, "Can I take a cold shower after painting bathroom?" the answer is still no – temperature doesn't matter as much as moisture exposure.
Professional vs. DIY: When to Call in the Cavalry
While painting bathroom tiles is a great DIY project, sometimes it's best to call in the pros. Consider professional help if:
You're dealing with a very large or complex space
Your tiles are in poor condition and need extensive repair
You want intricate designs or patterns
You're short on time or patience (hey, it happens!)
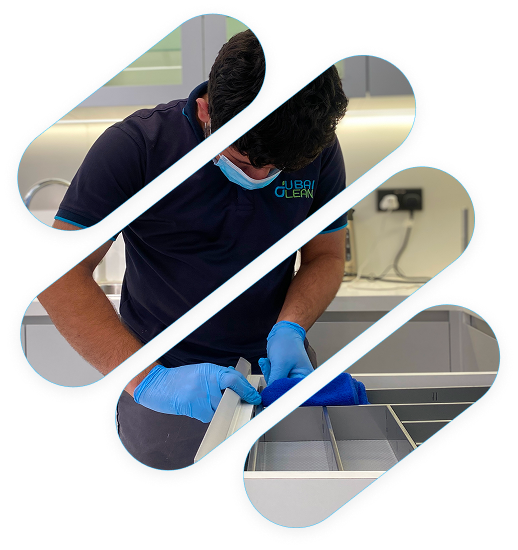
How Dubai Clean Can Transform Your Bathroom
At Dubai Clean, we specialize in bringing bathroom dreams to life. Our expert team has years of experience in bathroom tile painting services, ensuring a flawless finish every time. We use top-quality products and techniques to deliver results that last. Plus, we handle all the prep work and clean-up, so you can sit back and watch your bathroom transform without lifting a finger!
Frequently Asked Questions: Your Burning Questions Answered!
Let's tackle some common questions about bathroom tile painting:
{"@context":"https://schema.org","@type":"FAQPage","@id":"https://dubaiclean.com/bathroom-tile-paint/","mainEntity":[{"@type":"Question","name":"<strong>Can you paint bathroom tile effectively?</strong>","acceptedAnswer":{"@type":"Answer","text":"With the right preparation, products, and techniques, painted bathroom tiles can look amazing and last for years."}},{"@type":"Question","name":"<strong>How long does the painted bathroom tile last?</strong>","acceptedAnswer":{"@type":"Answer","text":"When done correctly, painted bathroom tiles can last 3-5 years or even longer with proper care."}},{"@type":"Question","name":"<strong>Does spray painting bathroom fixtures last?</strong>","acceptedAnswer":{"@type":"Answer","text":"While spray painting can be effective for fixtures, it's generally less durable than brush-on methods for tiles. If you're considering spray painting fixtures, use products specifically designed for that purpose."}},{"@type":"Question","name":"<strong>How to paint old bathroom tile for best results?</strong>","acceptedAnswer":{"@type":"Answer","text":"The key is thorough preparation. Clean, repair, and sand the old tiles before priming and painting. Don't rush the process, and you'll be rewarded with a beautiful finish."}}]}
Can you paint bathroom tile effectively?
With the right preparation, products, and techniques, painted bathroom tiles can look amazing and last for years.
How long does the painted bathroom tile last?
When done correctly, painted bathroom tiles can last 3-5 years or even longer with proper care.
Does spray painting bathroom fixtures last?
While spray painting can be effective for fixtures, it's generally less durable than brush-on methods for tiles. If you're considering spray painting fixtures, use products specifically designed for that purpose.
How to paint old bathroom tile for best results?
The key is thorough preparation. Clean, repair, and sand the old tiles before priming and painting. Don't rush the process, and you'll be rewarded with a beautiful finish.
Wrapping It Up: Your Bathroom Tile Painting Adventure Awaits!
There you have it, folks – everything you need to know about painting bathroom tiles! From prep work to pro tips, you're now armed with the knowledge to tackle this transformative project. Remember, the key ingredients are patience, attention to detail, and a dash of creativity.
Whether you're looking to refresh a tired bathroom, add a pop of color, or completely reinvent your space, tile painting is a budget-friendly way to make a big impact. And if you're in Dubai and feeling a bit overwhelmed, don't forget that the experts at Dubai Clean are just a phone call away, ready to bring your bathroom vision to life.
So, what are you waiting for? Grab those brushes, pick your colors, and get ready to fall in love with your bathroom all over again. Happy painting, and may your tiles be ever fabulous!
Ready to transform your bathroom but not sure where to start? Book a consultation with Dubai Clean today! Our team of experts will guide you through the process, from color selection to final touches. Don't just dream about a beautiful bathroom—let's make it happen together!